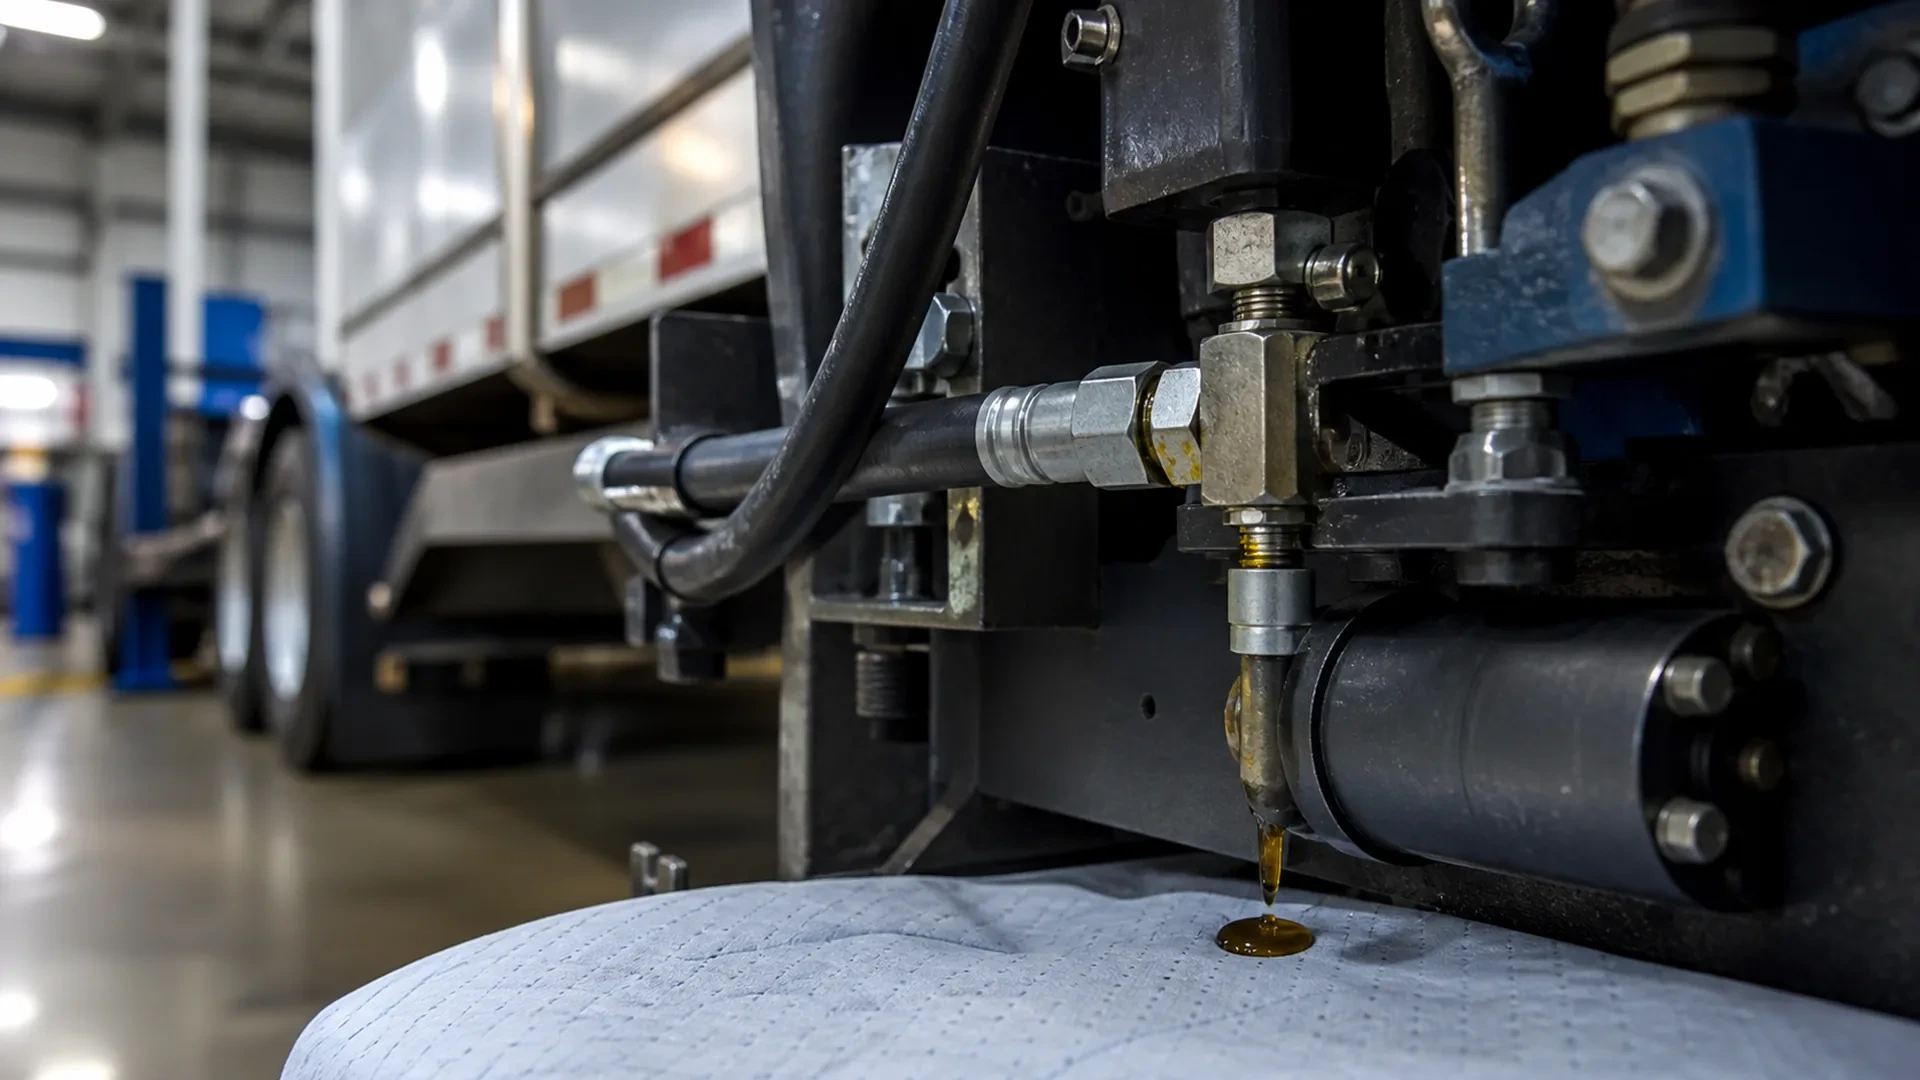
Walking Floor hydraulic leak: what to document before service
A visible Walking Floor hydraulic leak should be documented from a safe position and discussed with a repair shop before anyone tries to identify a part or tighten a connection. The most useful first report explains where the fluid appeared, when it appeared, how the floor behaved and whether the condition changed.
That information does not replace an in-person diagnosis. It helps the shop understand the complaint, identify what details may still be needed and prepare for the unit’s evaluation.
Brothers Truck Trailer Repair and Welding Corp. provides Walking Floor diagnosis, repair and maintenance from its workshop at 1620 S 51st St, Tampa, FL 33619. The shop also handles general truck and trailer maintenance, aluminum welding, fabrication and parts assistance.
What should you do when you notice a hydraulic leak?
Stop observing if reaching the area would place you near moving equipment, suspended components or pressurized fluid. Do not touch a wet hydraulic line with your hand, search for a leak by feel or place yourself under equipment that has not been secured for service.
From a safe position, record only what is already visible:
The general area where the fluid first appears.
Whether it is a drip, wet surface, stain or active discharge.
Whether the condition appears while the system is inactive or during normal operation.
Whether the Walking Floor became slow, uneven, incomplete or unresponsive.
Any new sound, vibration, rubbing mark or material buildup.
Whether the unit was loaded or empty when the symptom appeared.
If fluid appears to spray or mist, the leak becomes worse, a component moves unexpectedly or the floor binds, stop the observation and request professional guidance. A photo is not worth approaching a condition that may be pressurized or unstable.
Why the wettest point may not be the source
Hydraulic fluid can travel along a hose, line, fitting, frame surface or nearby component before it drips. Air movement, gravity and the position of the trailer can also change where the fluid collects.
For that reason, a close photo of the wettest point may not identify the origin. A useful set of images includes both the surrounding installation and the visible fluid path. The repair shop can then relate the leak to hoses, fittings, valves, cylinders, lines or other nearby components during inspection.
Avoid ordering a component from one image alone. Compatibility can depend on system information, labels, dimensions and the condition of connected parts.
The six details that make a service request clearer
1. Show the installed location
Take one wide photo that shows where the area sits on the trailer. Then take closer photos without moving guards, disconnecting lines or placing the camera near a moving section.
Useful references include the side of the trailer, the front or rear orientation and recognizable nearby components. “Left side near the front of the floor system” gives the shop more context than “a hose is leaking.”
2. Describe the fluid pattern
State what you can see without assigning a cause. Examples include:
A fresh drip below a connection.
A wet line extending away from a fitting.
Fluid collecting on a support surface.
A stain that reappeared after the area had previously been cleaned.
A new wet area following recent service or component replacement.
Do not touch or smell the fluid to identify it. If more than one fluid source is possible in that area, report the uncertainty.
3. Explain when the leak appears
Timing can help distinguish a continuous visible condition from one associated with operation. Note whether you first saw the leak:
Before the floor was activated.
During loading or unloading.
After the system had been operating.
Only with the trailer loaded or only when empty.
After a long route, recent maintenance or an impact.
Do not repeatedly cycle the system just to reproduce the leak. Describe the last condition you observed safely.
4. Record how the Walking Floor behaved
A leak and a movement complaint may be related, but one symptom does not prove the cause of the other. Report whether the floor:
Moves more slowly than usual.
Hesitates or stops during part of the sequence.
Moves unevenly from one section to another.
Produces a new noise or vibration.
Requires a different operating response than before.
The shop may need to consider both hydraulic response and mechanical resistance. Slats, bearings, guides, alignment, material buildup and structural contact can affect how the complete floor behaves.
5. Include recent work and symptom history
Tell the shop about recent hydraulic work, hose or fitting replacement, welding, impact damage, floor service or recurring leaks. Include approximate dates when possible.
Also state whether the condition appeared suddenly, developed gradually or returned after a previous repair. This history can help define the starting point for inspection without assuming that the earlier repair is the current cause.
6. Capture labels and identification details
Photograph visible system labels, component markings and the trailer identification information only when accessible from a safe position. Do not remove a component to expose a number.
Parts assistance begins with identification. A product name or appearance by itself may not confirm fitment, current availability or the complete repair scope.
What may a Walking Floor hydraulic inspection include?
The scope depends on the unit and its symptoms. A technician may evaluate visible hoses, lines, fittings, valve areas, cylinders and related hydraulic components. The inspection may also consider fluid condition, evidence of contamination and how the system responds under controlled service conditions.
Because the hydraulic system moves a mechanical floor, the evaluation may extend to slats, bearings, guides, alignment, contact points and material accumulation. Replacing a visible wet component without understanding an underlying restriction or movement problem may not address the complete complaint.
The final repair recommendation should follow the inspection. Photos and a symptom history help prepare the visit, but they cannot confirm pressure conditions, internal wear or component compatibility remotely.
What not to do before service
Do not search for a pressurized leak with your hand.
Do not tighten a fitting while the system is pressurized.
Do not repeatedly operate a system that is leaking, binding or moving unexpectedly.
Do not disassemble a hose, valve or cylinder only to improve a photo.
Do not clean away every trace before recording where the leak appeared.
Do not add an unspecified fluid or mix products without the applicable system guidance.
Do not assume the visible drip identifies the failed component.
If the unit’s condition raises an operational or safety concern, request guidance from the appropriate service professional before moving or operating it. This article is a preparation guide, not a remote determination that a trailer is safe to use.
A message template for contacting the shop
Keep the first message short and specific:
> I have a Walking Floor trailer with a visible hydraulic leak near [location]. I first noticed it [when/under what condition]. The floor now [describe behavior], and the unit was [loaded/empty]. I have a wide photo, close photos and the visible system information. The most recent related work was [brief history].
The shop can then ask follow-up questions and explain the appropriate next step for evaluation.
Request Walking Floor hydraulic service in Tampa
If your Walking Floor has developed a visible leak, document the location, timing and operating symptom without touching pressurized or moving equipment. Contact Brothers Truck Trailer Repair and Welding Corp. at +1 (813) 750-6380 or visit the workshop at 1620 S 51st St, Tampa, FL 33619 to request an evaluation.
Repair scope, timing, parts availability and cost depend on the condition of the unit and the findings of the inspection.
Document the leak from a safe position, then call Brothers Truck Trailer at +1 (813) 750-6380 to request a Walking Floor hydraulic evaluation in Tampa.

Technical reference for 3500 lbs trailer axles covering GAWR, tire ratings, brake rules, fitment specs, and inspection protocols for commercial fleets.

Learn how etracks in trailer systems work, installation best practices, and repair procedures to keep your cargo secure and compliant on the road.

Master trailer wheel bearings maintenance with expert steps for inspection, repacking, and replacement. Reduce downtime and prevent costly failures today.