Trailer Coupling Bolts: Specs, Torque, and Safety Checks
A trailer is queued for dispatch, the fifth-wheel mounting bolt looks snug, and the driver is waiting on the paperwork. Then a technician spots fresh fretting dust beside the mounting plate. That small clue deserves a pause: movement at the joint can point to a problem in the connection, even when a bolt is still in place.
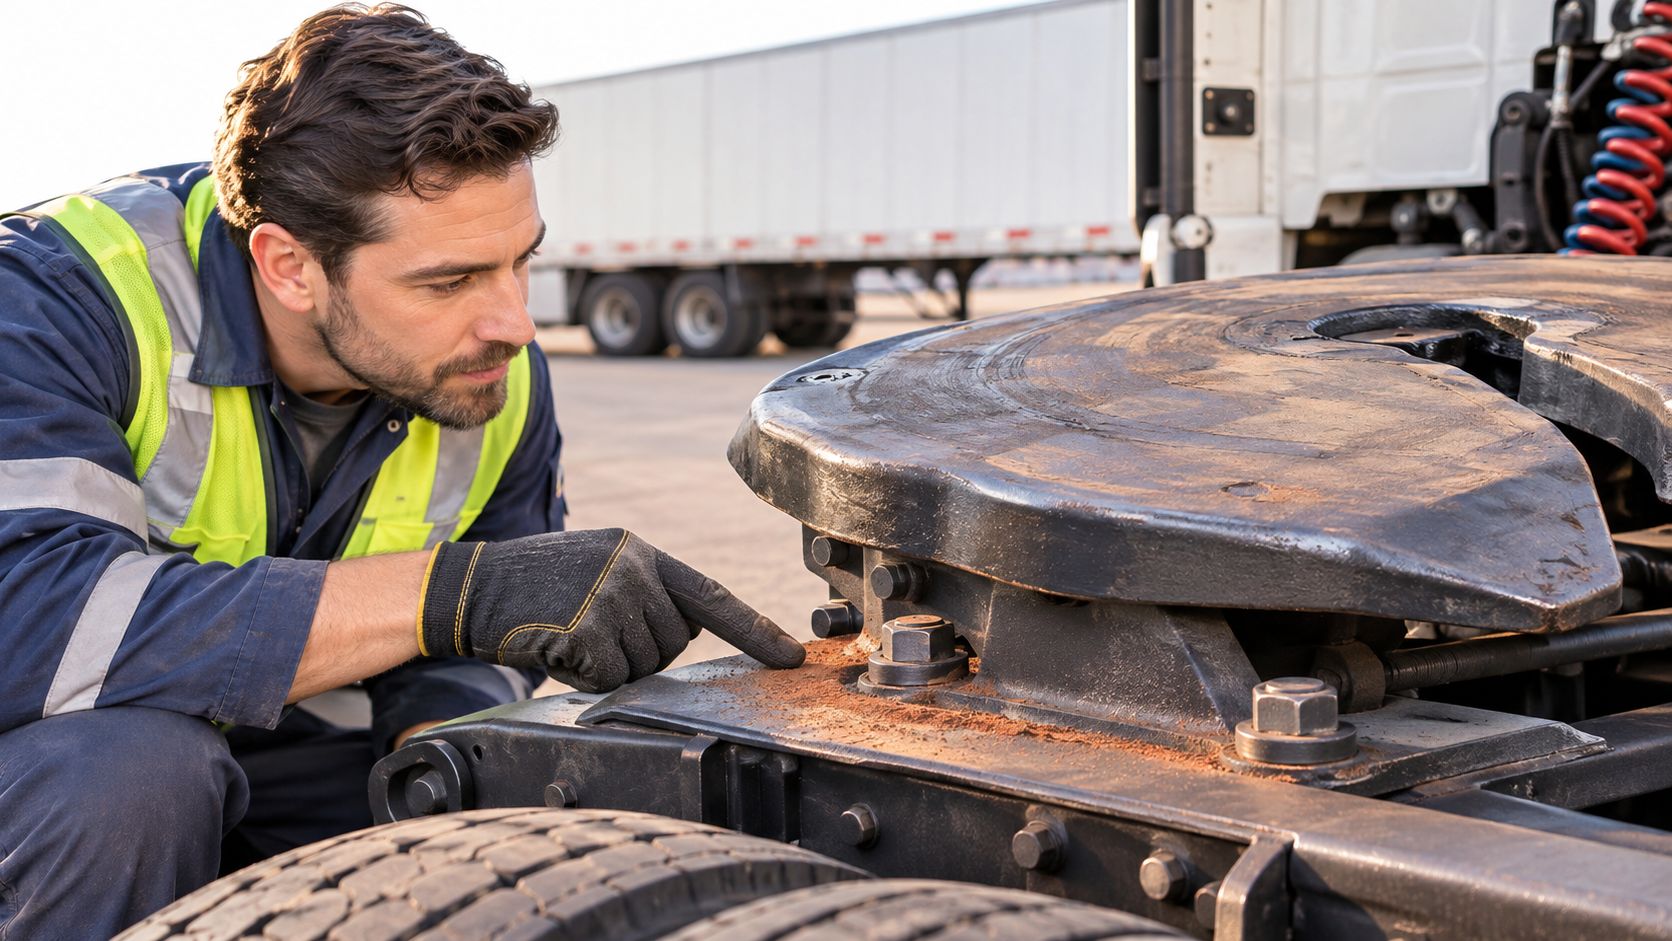
Table of Contents
- Why Trailer Coupling Bolts Deserve More Attention
- Identifying the Correct Spec for Your Coupling
- Reading the Damage Before You Reach for a Wrench
- Replacing Kingpin and Coupling Bolts the Right Way
- Recording Diameter, Grade, Quantity, and Torque Together
- Pre-Tow Coupling Check the Driver Can Run in Five Minutes
- The Maintenance Rule of Thumb for Coupling Bolts
Why Trailer Coupling Bolts Deserve More Attention
A coupling is a load path, not a bolt by itself. Forces travel through the kingpin or coupler, locking parts, mounting plate, fasteners, brackets, welds, and frame. If one part shifts or wears, the rest of the connection can be affected. A coupling failure can separate the tractor and trailer, so a bolt that merely looks tight isn't proof that the whole assembly is safe.
A torque value matters, but it can't tell you whether holes have elongated, a spacer has distorted, a mounting plate has moved, or the latch has fully engaged. In a documented recall, incorrect bolt adjustment distorted a fifth-wheel pivot-bolt spacer and kept the latch jaw from closing securely. The campaign covered 5,861 vehicles, as described in NHTSA's recall documentation. The practical lesson is that fastener presence and apparent tightness don't replace a visual and functional check.
Shop-floor rule: If you can't verify the fastener arrangement and coupling function against the manufacturer's procedure, don't dispatch the unit until it's evaluated.
For fleet maintenance, the useful sequence is straightforward: identify the coupling and its specification, inspect for progressive damage, replace hardware using the correct procedure, and verify the connection before towing. Treat grade, diameter, quantity, torque, and locking method as one connected decision. A generic bolt can look right and still be wrong for the pattern, material, or assembly.
That distinction matters across commercial trailer work, including structural repairs and fabrication. When a mounting plate, frame member, or weld has been repaired, the technician needs to assess the complete load path and restore the specified attachment, not just install a bolt that fits the hole.
Identifying the Correct Spec for Your Coupling
Start with the coupling itself, not the loose hardware on the bench. For conventional North American fifth-wheel systems, the associated kingpin is typically 2 inches (50.8 mm) under SAE J700. Heavy-duty systems use a nominal 3.5-inch (about 89 mm) kingpin. ISO 4086:2001 identifies the 90-size kingpin as 89 mm (3.5 inches) for extra-heavy-duty vehicles exceeding ordinary regulatory mass limits, while the 50-size kingpin is normally used within compulsory mass limits, with its dimensions referenced to ISO 337. These distinctions are documented in Volvo's fifth-wheel technical fact sheet.
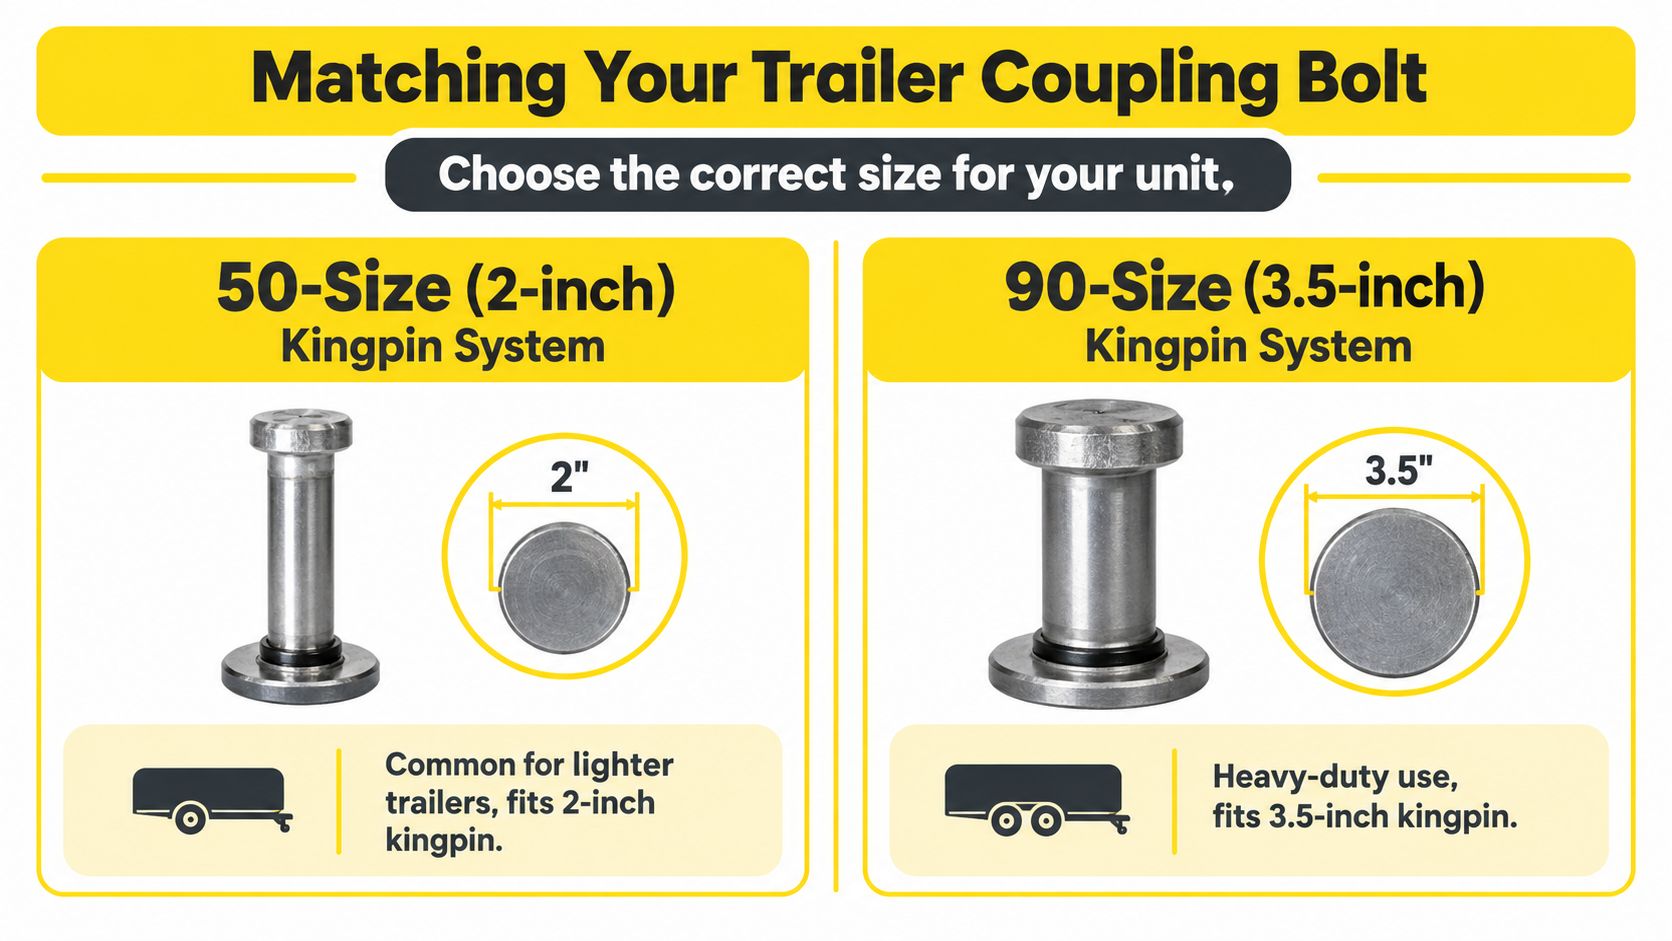
The kingpin size identifies the coupling class, but it doesn't identify every mounting fastener. Bolt pattern, diameter, grade, locking method, and torque still depend on the particular coupling and the manufacturer's instructions. Don't assume a bolt from one assembly is suitable for another just because its head and shank look similar.
Read the coupling before selecting hardware
Use the data plate and manufacturer's documentation to establish the make, model, coupling class, and specified fasteners. Then check the existing hardware against the service information. If the plate is missing or the parts don't match the documentation, stop and identify the assembly before ordering or installing replacements.
For fifth-wheel mounting bolts, Australia's National Heavy Vehicle Regulator guidance specifies at least ISO Grade 8.8, equivalent to SAE Grade 5, unless the manufacturer requires a higher grade. It calls for self-locking nuts and says spot welds or spring washers aren't substitutes. It also states that bolting is preferred for fifth-wheel feet, while welding is permitted only when the manufacturer recommends it. The NHVR coupling guidance also requires kingpin-retaining bolts to be tensioned to the bolt manufacturer's torque specification.
California Highway Patrol guidance accepts Grade 5 threaded fasteners or SAE-compliant capscrews and bolts for securing a fifth wheel to the frame. Use the applicable manufacturer and jurisdictional requirements for the vehicle being serviced, and record what you install.
On the work order, capture the coupling identification, bolt diameter and grade, quantity, locking method, torque specification, and any deviations or damaged parts. That record makes it harder for a later shift to mistake similar-looking hardware for a verified match.
Reading the Damage Before You Reach for a Wrench
Inspect the joint for evidence of movement before deciding to retorque anything. Fretting dust, shifted paint marks, ovalized holes, or displaced washers can indicate that parts have moved against each other. Retorquing without finding the cause can hide a developing structural problem instead of correcting it.
NHTSA recall documentation also describes cumulative damage associated with improper coupling technique, inadequate visual inspection, and poor maintenance, with possible failure of the locking mechanism and trailer detachment. The important shop-floor point is that a bolt can be present and feel tight while the assembly remains unsafe. A distorted spacer, incomplete latch engagement, worn jaws, or cracked mounting structure may be the actual concern.
Match the clue to the decision
Use the inspection to choose whether to document, verify and recheck, or hold the unit. Don't treat a torque wrench as a substitute for examining the surrounding parts.
| What you see | Likely cause | Action |
|---|---|---|
| Fretting dust near a bolt head or mounting plate | Possible movement between clamped parts | Inspect the fastener, holes, plate, and surrounding structure. If the assembly is sound and the manufacturer's procedure permits it, torque to specification and recheck for movement. |
| Ovalized holes or elongated mounting slots | Repeated movement, distortion, or damage | Remove from service until a qualified technician evaluates the plate, frame, and repair requirements. |
| Paint witness marks that no longer line up | Hardware or plate has shifted | Document the movement and inspect the full attachment. Don't dispatch until the cause is resolved and the coupling is verified. |
| Corrosion loss at the shank, damaged threads, or a deformed bolt | Fastener condition no longer supports a reliable joint | Replace with the specified hardware. Hold the unit if correct replacement and installation can't be confirmed. |
| Cracked or missing locking features, damaged safety-wire holes, or displaced washers | Failed or compromised retention | Don't reuse damaged parts. Install the manufacturer-specified locking system and verify it before operation. |
| Latch won't close fully, or spacer or mounting structure is visibly distorted or cracked | Coupling geometry or structural integrity may be compromised | Do not dispatch. Route for qualified evaluation and functional verification. |
A clean-looking bolt head doesn't clear the assembly. Check the plate, bracket, welds, surrounding frame, and latch together, then make the go/no-go call from the condition of the whole connection.
Replacing Kingpin and Coupling Bolts the Right Way
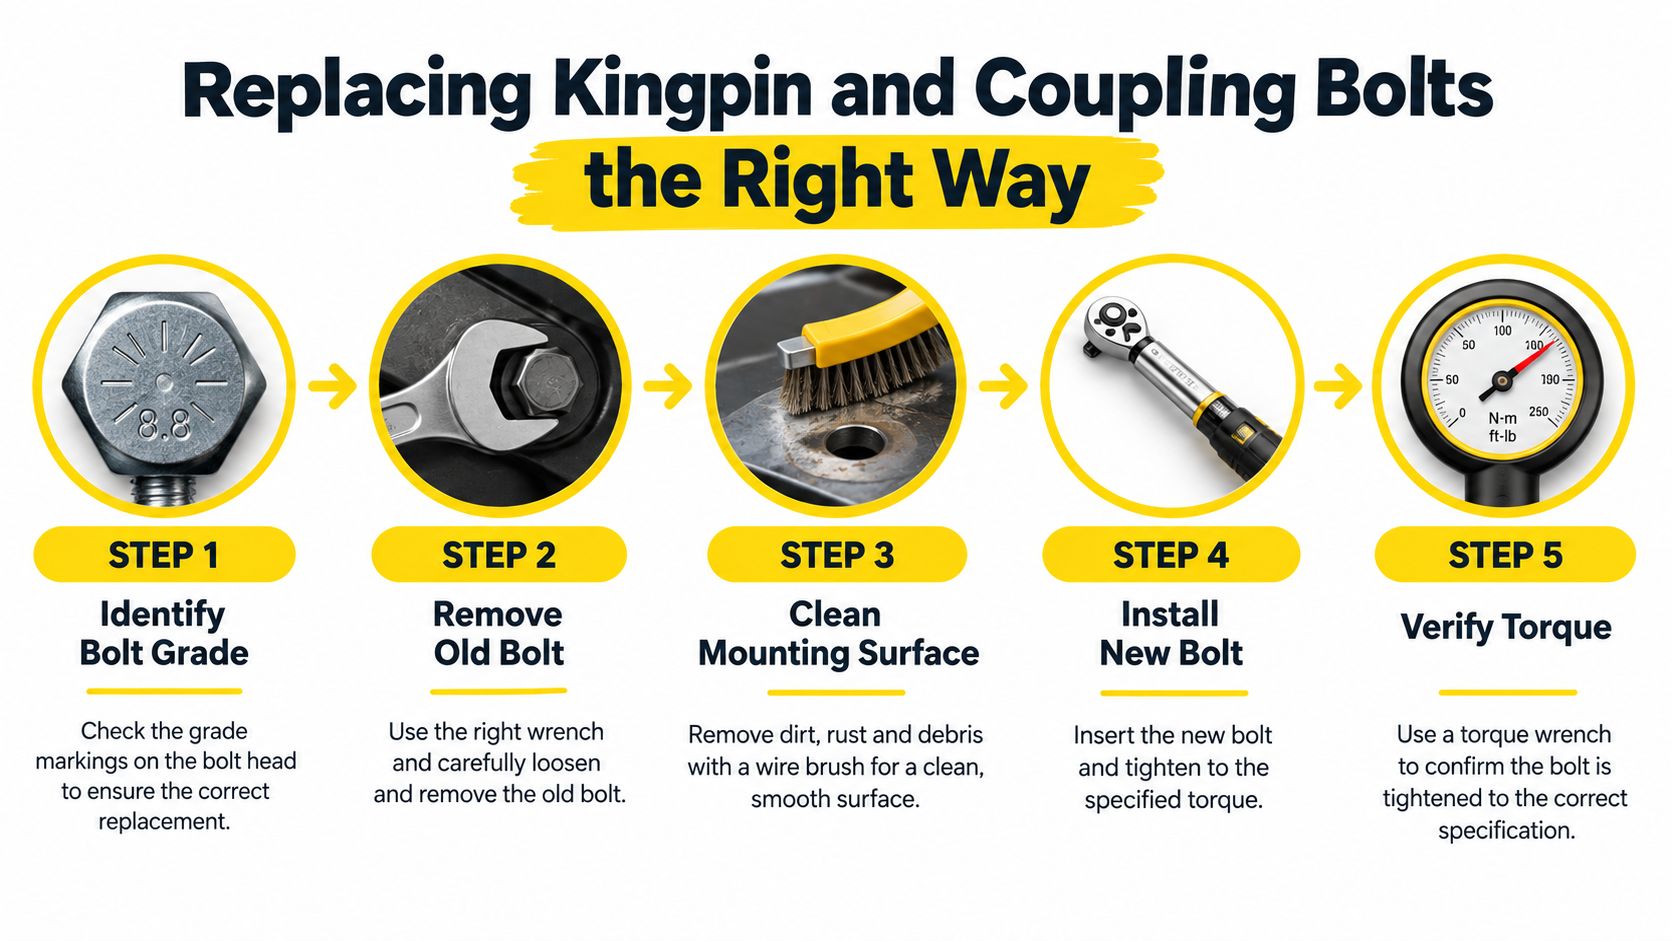
Use the coupling manufacturer's procedure for the exact model. SAF-Holland's documented kingpin replacement procedure calls for eight 0.75-inch Grade 8 bolts, installed with the kingpin fully seated and without binding. It specifies a final torque of 180–200 ft-lb, an alternating cross-pattern, a second complete torque check, and safety-wire locking after correct torque has been verified. The SAF-Holland kingpin service procedure controls for that assembly. Don't apply those figures to a different kingpin or coupling.
Work in a controlled sequence
- Identify the hardware. Confirm the kingpin model, bolt diameter, grade, quantity, and specified locking method before removing anything. Reject replacements that don't match the approved specification.
- Prepare the joint. Clean mating surfaces and threads, then inspect for damage. Replace bolts with damaged threads, stretched shanks, corrosion loss, or damaged safety-wire holes. Follow the manufacturer's rules on whether removed hardware can be reused.
- Seat the assembly. Insert the kingpin fully without binding and align the holes. Hand-start every bolt so the threads engage cleanly before tightening.
- Tighten evenly. Use an alternating cross-pattern to seat the assembly uniformly. Apply the model-specific final torque with a calibrated torque wrench, then complete a second full torque check. Initial tightening can settle mating parts, which may relax preload.
- Lock and verify. Once torque is confirmed, install the specified safety wire through the bolt-head holes sequentially. Keep the wire tight and without slack, then check the completed installation.
A torque number isn't universal. Friction, plating, lubrication, thread condition, and the component model can affect the required preload, so the applicable manual, not a familiar number from another job, sets the target.
For a visual walk-through, use this kingpin and coupling-bolt replacement video. Compare its procedure with the manual for the assembly on your bench before beginning work.
Recording Diameter, Grade, Quantity, and Torque Together
A work order that says “tightened fifth-wheel bolts” tells the next shift nothing. Record diameter, grade, quantity, and final torque as a set, along with the coupling identification and locking method. These bolts carry the joint's load path, and a complete entry lets the next technician confirm the installed hardware matches the specified part before clearing the unit.
Quantity is a safety detail as well. FMCSA states that federal regulations don't prescribe one minimum fastener count for attaching an upper fifth-wheel plate to a trailer frame. Industry guidance recommends at least ten 5/8-inch bolts or at least fourteen 1/2-inch bolts, recommendations incorporated into CVSA out-of-service criteria, as explained in FMCSA's guidance on upper fifth-wheel fasteners. Follow the design requirements for the specific assembly; a recommendation never overrides a manufacturer's bolt pattern.
Fleets working under Australian jurisdiction can check coupling requirements in the NHVR's Vehicle Standards Bulletin VSB6, Section P on tow couplings.
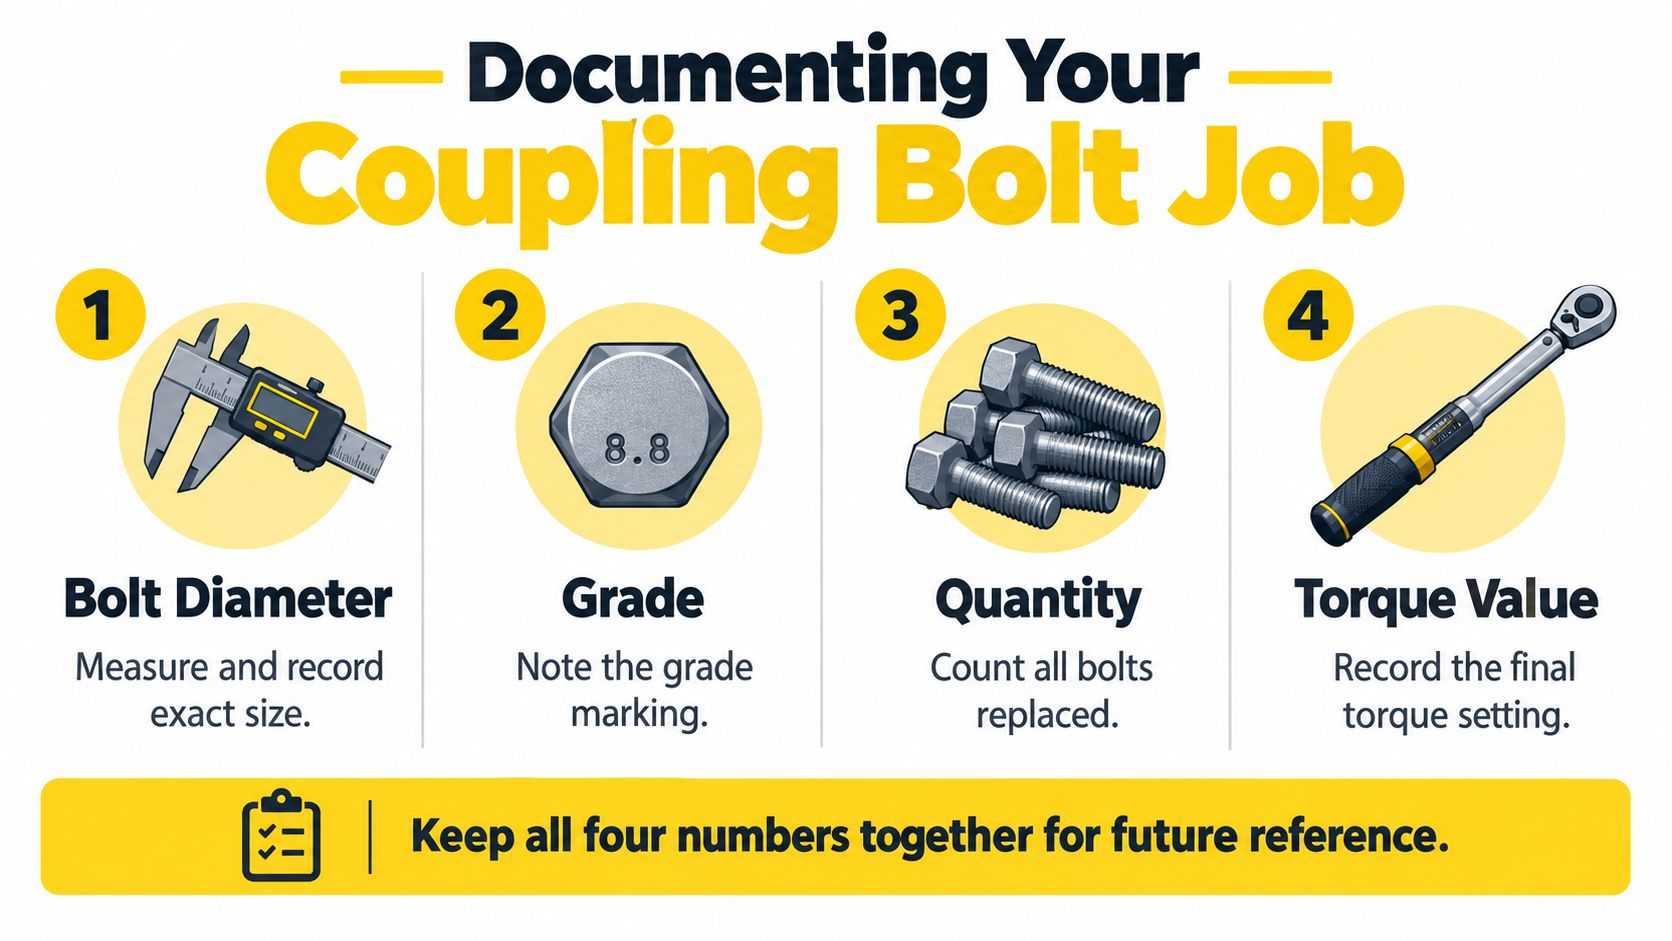
Keep the work-order entry concise but complete:
Template: bolt diameter: [measured size], grade: [verified grade], quantity: [count], final torque: [manufacturer specification], locking method: [specified method], coupling identification: [make/model].
Completed example: Upper fifth-wheel mounting, bolt diameter: 5/8 in, grade: 8, quantity: 10, final torque: 175 ft-lb per manufacturer spec, locking method: self-locking nuts, coupling identification: SAF-Holland FW-35.
Fill the fields from the assembly on the bench and its service procedure, not from memory. Log missing or replaced fasteners and the damage found: elongated holes, fretting, distorted spacers. That record gives the next inspection a go/no-go basis, since the tech can measure progression against the last entry rather than trusting a bolt that looks tight. Periodic inspection requirements still apply, so keep the record through that cycle; a clear entry helps a fleet trace what changed if the coupling is questioned during service.
Pre-Tow Coupling Check the Driver Can Run in Five Minutes
FMCSA's commercial-driver inspection guidance says coupling devices must be checked before operation under 49 CFR 392.7, and a vehicle may not be driven unless the driver is satisfied that its parts and accessories are in good working order. The FMCSA pre-trip inspection guidance makes the coupling a dispatch check, not just a shop-maintenance item.
A five-step walk-around
- Scan the attachment. Look for loose or missing bolts, shifted hardware, visible separation, cracked mounting members, damaged brackets, and signs of movement around the plate.
- Check the locking parts. Look for damage, missing pieces, or anything that prevents the latch from moving and closing as intended.
- Confirm the connection. Verify that the kingpin has seated fully in the jaws and that the latch has engaged completely. If the latch position can't be confirmed, stop.
- Check the secondary connection. Verify safety chains or pintle-hook components where applicable, following the equipment's specified setup.
- Make the dispatch decision. If the connection can't be verified or you find a defect, hold the unit and report it for qualified evaluation.
Don't rely on appearance alone to judge whether a bolt is tight. A driver's walk-around can catch visible changes and incomplete engagement, but it doesn't replace a technician's assessment when hardware or structure is suspect.
Hold the unit if a fastener is loose, missing, damaged, or incorrectly installed; if a mounting member is cracked or shifted; if the latch won't fully engage; or if the coupling can't be verified using the manufacturer's procedure. A clean pre-tow check doesn't remove the requirement for a commercial-vehicle periodic inspection at least every 12 months, and it doesn't authorize operation when a defect is present.
The Maintenance Rule of Thumb for Coupling Bolts
If a coupling-bolt concern can't be verified against the manufacturer's procedure, hold the unit. Treat it as an out-of-service condition and route it for qualified evaluation. One new fastener won't make a worn kingpin, a cracked bracket, or an elongated mounting hole safe again.
Kingpin wear belongs in that call. California Highway Patrol commercial-vehicle inspection criteria call for replacement when wear at the kingpin groove exceeds 3/16 inch. Bolt integrity can't compensate for a groove worn past the limit where the kingpin and jaws meet.
Keep the coupling specification with the unit, use a calibrated torque wrench, complete the second torque check when the procedure calls for it, and document each fastener change.
That record also gives the maintenance program a way to schedule coupling work on its own terms. Log coupling-interface inspections separately from Walking Floor hydraulic and slat service intervals, because a coupling bolt check every pre-tow cycle and a slat wear check every unload cycle run on different schedules and catch different failures. A slat can wear through without ever affecting the coupling, and a shifted mounting plate won't show up in a hydraulic service. The go/no-go call stays simple: if the connection can't be verified, the unit doesn't roll.
For coupling, trailer, and fabrication concerns, Brothers Truck Trailer Repair and Welding Corp. offers truck and trailer repair and maintenance, Walking Floor diagnostics and repair, aluminum welding, fabrication, and parts support. Tampa Bay fleets and owner-operators can contact the shop to discuss a coupling issue, a related structural repair, or the parts needed to get a unit back into service.
Practical guide to semi trailer tail lights covering types, FMVSS No. 108 requirements, wiring basics, troubleshooting, and step-by-step replacement procedures.

15 ton trailer specs, configurations, and selection criteria for fleets. Compare axles, brakes, frames, and maintenance points before you buy or repair.

Learn proper weight distribution on trailers with practical steps for tongue weight, load placement, axle checks, and fleet inspection routines.