Trailer Brake Inspection: Step-by-Step Pass or Fail Guide
During the 2024 Brake Safety Week campaign, inspectors placed 2,149 of 16,725 commercial vehicles inspected across Canada, Mexico and the United States out of service for brake-related violations, a 12.8% rate, according to CVSA's campaign results. A trailer brake inspection isn't just a maintenance sign-off. It decides whether the combination can continue operating.
The useful verdict comes from matching each wheel-end finding to the condition of the entire combination. A clean-looking trailer, an automatic slack adjuster and an accessible axle aren't substitutes for measured brake operation.
Table of Contents
- Trailer Brake Pass and Fail Limits
- Qualifications and Tools Before You Start
- Walking Around the Air Lines and Hoses
- How to Run the Air Pressure and Application Test
- Measuring Pushrod Stroke at Every Wheel End
- Checking Linings, Drums and Discs
- Symptoms That Point to Hidden Brake Faults
- Repair Now or Log and Monitor Before Dispatch
Trailer Brake Pass and Fail Limits
Trailer brake verdicts and thresholds
| Check | Limit or threshold | Verdict and basis |
|---|---|---|
| Reservoir pressure before static adjustment check | 90–100 psi (620–690 kPa) | Required setup, CVSA inspection procedure |
| Defective service brakes on the combination | 20% or more of total service brakes | Out of service, federal criteria |
| Brakes that cannot be inspected | More than 20% of the vehicle's brakes | Level II inspection instead of Level I, CVSA policy |
| Hose damage through the outer reinforcement ply | Any extension through the ply | Out of service, cited U.S. criteria |
| Pressure-induced hose bulge or audible leak away from a connection | Any occurrence | Out of service, cited U.S. criteria |
| Periodic inspection of each combination segment | At least once every 12 months | Federal requirement, plus day-to-day pre-trip checks |
| Brake operating requirement | Brakes operable at all times and acting on all wheels, with listed exceptions | 49 CFR 393.42(b) |
The defective-brake test covers all service brakes on the combination, not just a trailer axle; the CVSA enforcement summary identifies 20% or more defective service brakes as the out-of-service threshold. In its five-axle combination example, CVSA's inspection policy explains that two defective brakes trigger that consequence even when an axle hasn't been measured, and that more than 20% uninspectable brakes changes the inspection classification to Level II.
Classification isn't permission to ignore inaccessible brakes. A technician must identify which positions remain unchecked and arrange safe access before signing off on their condition.
The FMCSA brake-system requirements require brakes to remain operable at all times and generally act on all wheels, subject to the exceptions in 49 CFR 393.42(b). Being below a combination-level enforcement threshold doesn't make an individual defective brake acceptable.
Use the table's Check, Limit or threshold, and Verdict and basis columns on the inspection sheet. Add wheel position, measured value and corrective action beside them so every verdict has a traceable basis.
Qualifications and Tools Before You Start
The carrier must verify that the person inspecting or servicing brakes is qualified under 49 CFR 396.25, as explained in FMCSA's brake-inspector qualification guidance. Accepted routes include an approved state, Canadian provincial, federal-agency or union program, qualifying certificate training, or one year of brake-related training and experience.
The carrier retains qualification evidence throughout employment and for one year afterward; the guidance provides an exception for air-brake inspections performed by someone who has passed the CDL air-brake knowledge and skills test. A driver's walk-around and a maintenance inspection aren't interchangeable assignments.
Use this checklist to prepare the work area.
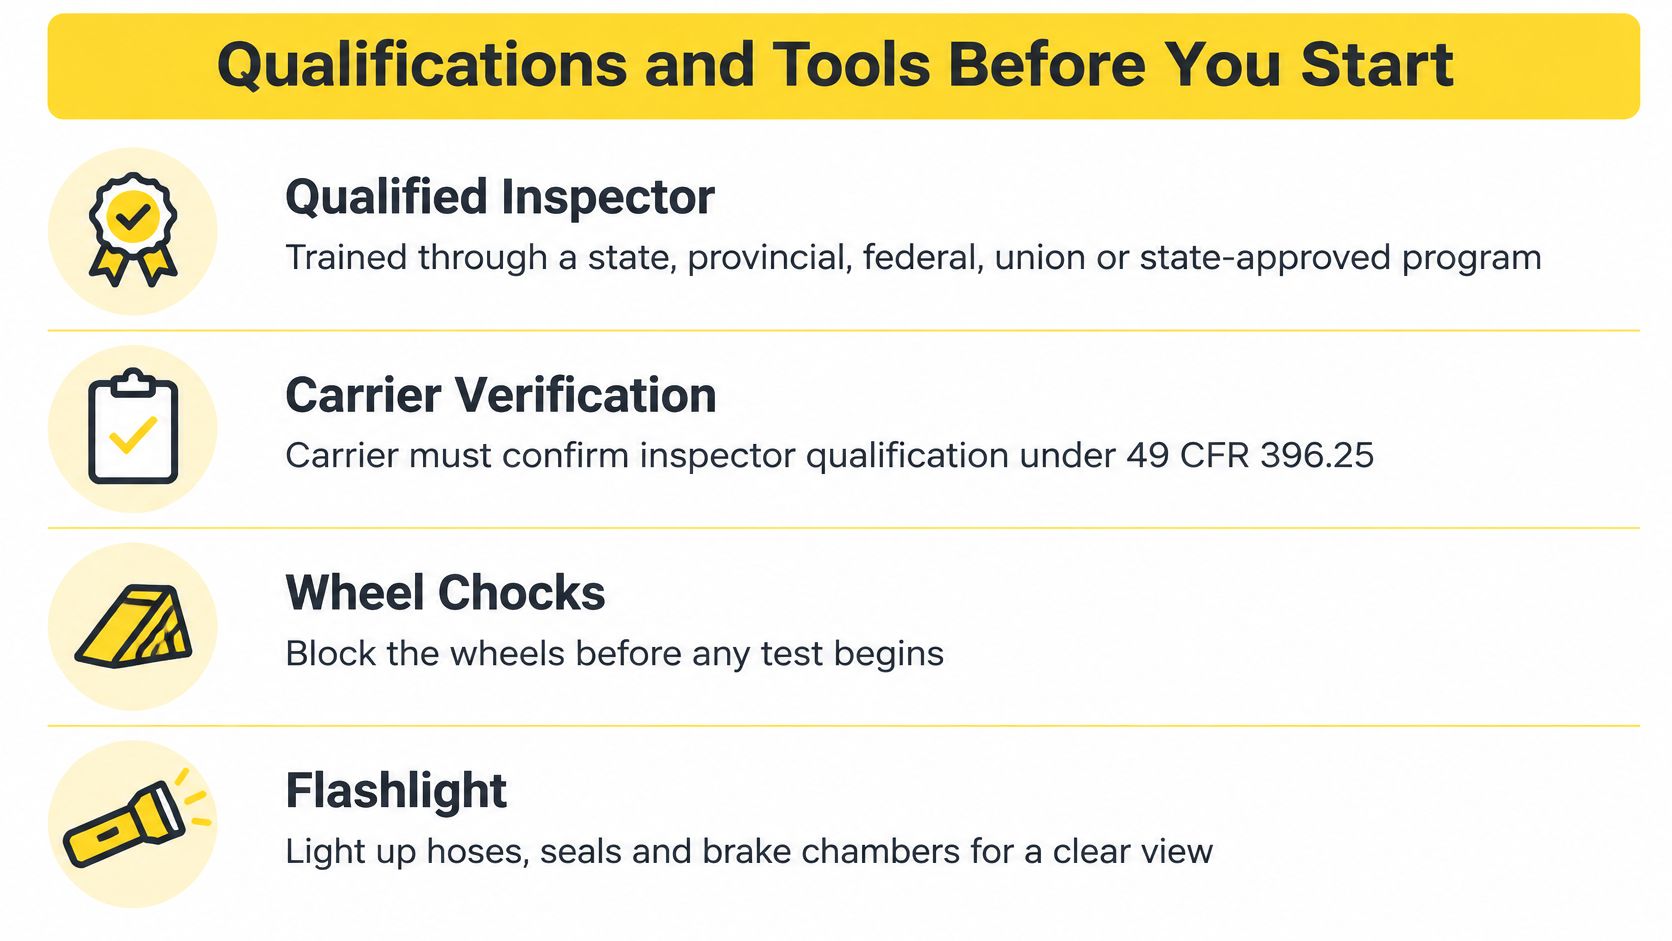
Build the kit before releasing brakes
- Secure the vehicle: Bring wheel chocks and load-rated stands suitable for the approved lifting points.
- See the components: Use a flashlight and inspection mirror for chamber brackets, hose contact points and concealed hardware.
- Measure wear and movement: Carry a ruler graduated in eighth-inch increments, a lining thickness gauge and the correct actuator reference.
- Check air and heat: Have an appropriate air-pressure gauge, soapy-water spray bottle and infrared thermometer.
- Record the findings: Prepare a sheet with a column for every wheel position, including positions you can't initially access.
Park on firm, level ground and set the tractor parking brake. Chock the wheels before releasing any brake needed for testing, because the combination can move when spring brakes release.
Never work beneath a vehicle supported only by a jack. Use rated stands, verify stability and keep clear of suspension movement and actuator travel; never open a spring-brake chamber during this inspection.
Walking Around the Air Lines and Hoses
Start at the tractor-to-trailer connections, then follow the trailer down one side and return along the other. On a Walking Floor trailer, secure the floor and hydraulic equipment before reaching around the underbody.
Begin with the connections you can inspect without crawling underneath.
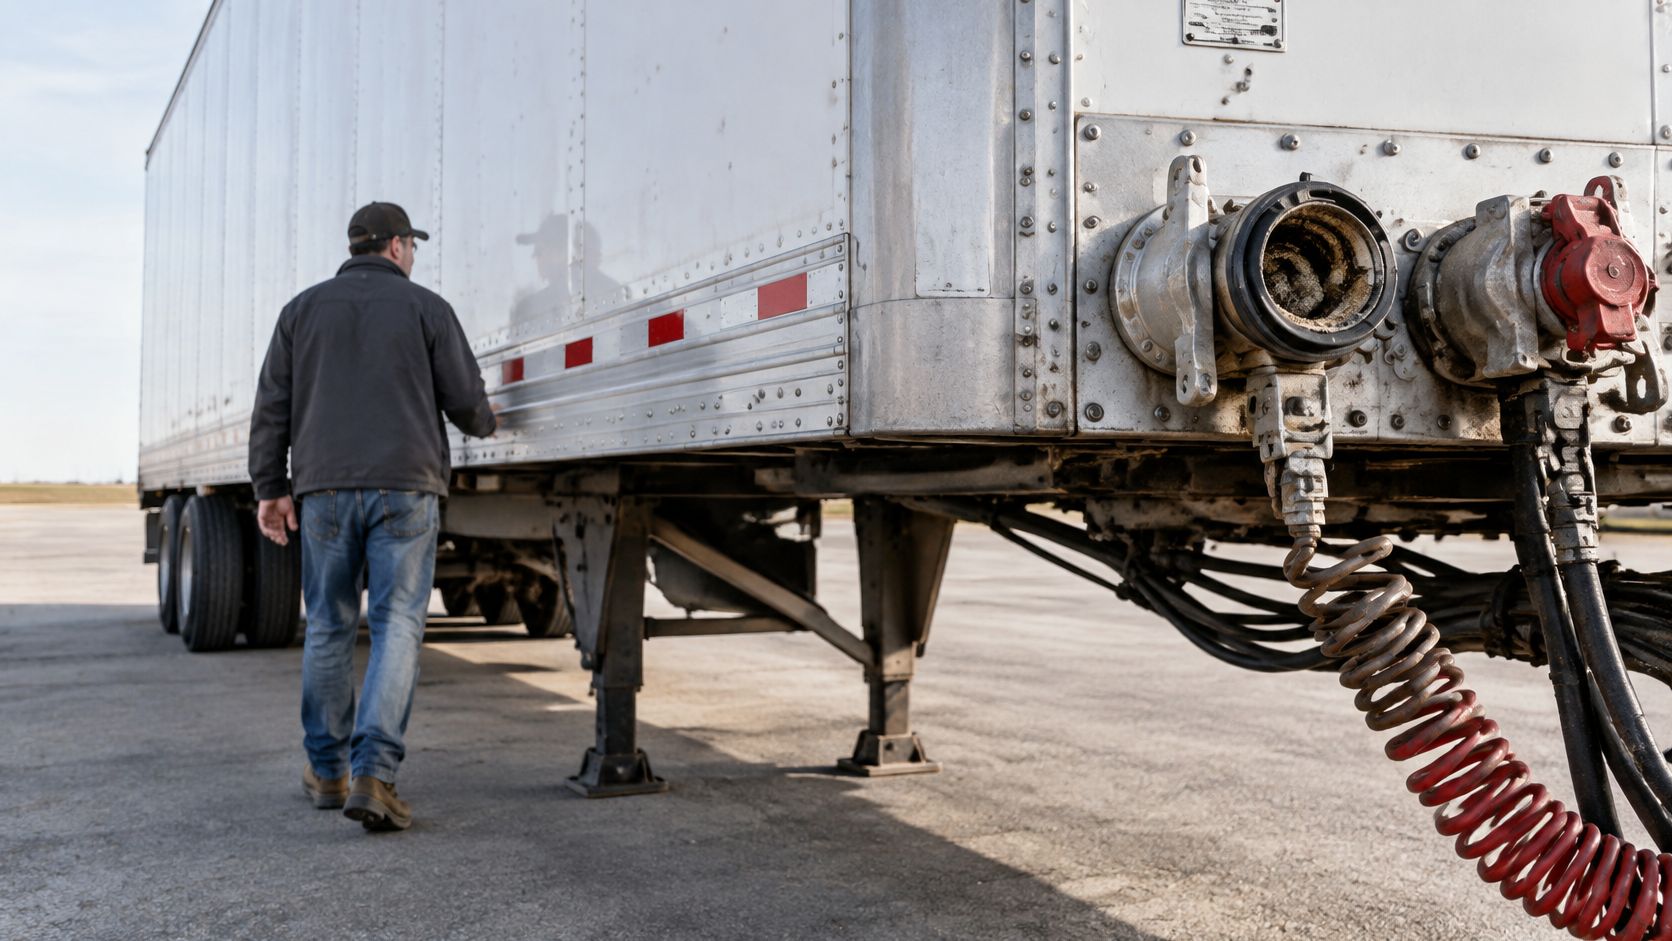
Follow the air path
- Inspect the gladhands. Look for cracked bodies, hardened or missing seals and debris in the heads. Check that the coupled hoses aren't stretched tight during articulation.
- Trace each line. Follow the supply and service plumbing through valves and branches to the chambers. Look for abrasion, flattened sections, kinks, bulges, heat damage and improvised splices.
- Check clearance. Inspect routing near frame edges, suspension travel, tires and wheels. A hose that clears everything while parked may rub when the suspension moves.
- Examine the chambers. Check mounting brackets, bolts, housings and clamp bands for looseness, cracks or displaced parts. Don't tighten or dismantle suspect chamber hardware without identifying the chamber and safe service procedure.
- Inspect accessible controls. Examine the gauge, protection valve and exposed connections, but don't stop there because they're convenient to reach.
- Look for heat evidence. Discolored hoses near a brake justify a closer examination for dragging components or inadequate clearance.
Pay particular attention to lines disturbed during aluminum body repair or fabrication. Replacement brackets and repaired cross-members must leave hoses supported without trapping them against sharp edges or hot components.
Use the video as a visual companion, not as a replacement for the trailer's service procedure.
Record damage at the affected wheel end or identify the shared line and downstream axle. Writing “air hose worn” without a location leaves the next technician searching instead of repairing.
A clean walk-around proves only that the visible components appear intact. It doesn't prove that air reaches every chamber promptly or that each brake develops useful force.
How to Run the Air Pressure and Application Test
Run the test with a qualified operator at the controls and clear communication before anyone approaches moving brake components. The sequence matters because a stroke reading taken under the wrong conditions isn't a dependable adjustment measurement.
Use this sequence to establish the test conditions.
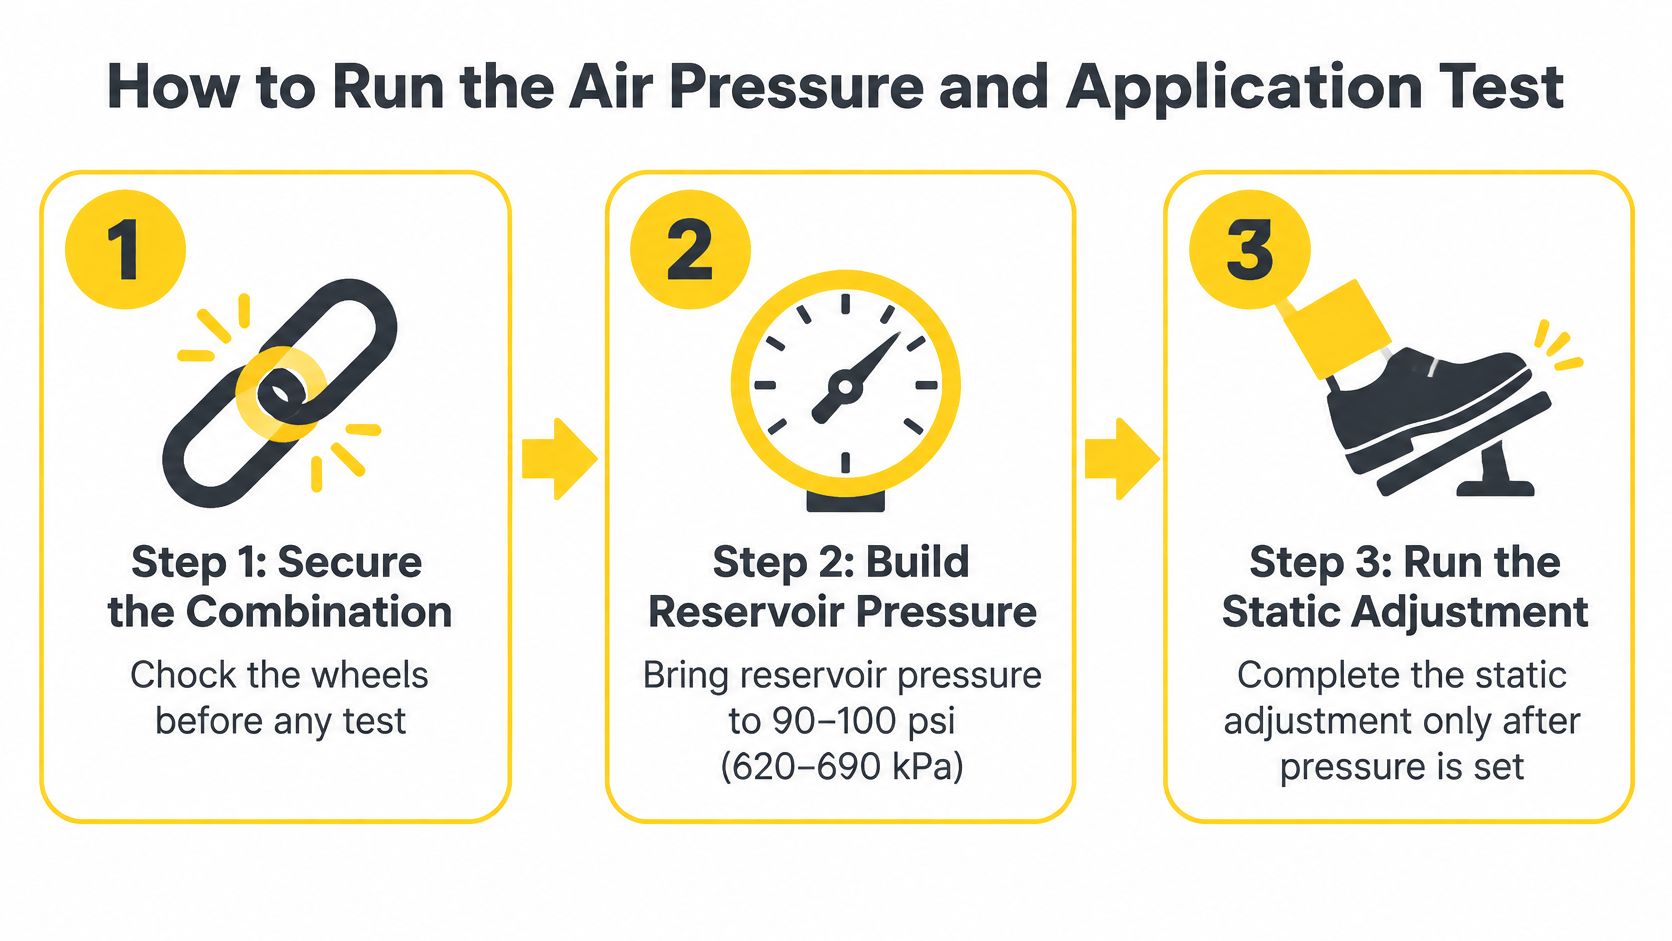
Establish pressure, then observe operation
- Secure the combination. Confirm the chocks hold before releasing parking brakes as needed for the procedure. Record the test configuration.
- Set reservoir pressure. The CVSA inspection procedure specifies 90–100 psi (620–690 kPa) before the static adjustment check. Confirm the actual pressure on the gauge rather than estimating from compressor operation.
- Apply the service brakes. Shut the engine off, make a full service application and hold it. Observe the initial pressure change separately from continuing loss.
- Measure leakage. Record starting pressure, ending pressure and elapsed time using the applicable vehicle test procedure. Persistent bubbling from soapy water helps locate leakage at gladhands, fittings, hoses or chambers.
- Cycle application and release. Listen at each chamber while the brakes are applied, then check release. Don't mistake normal exhaust at the proper valve during release for leakage from a pressurized component.
- Compare axle response. Confirm pushrods extend during application and retract fully afterward, without binding or obvious delay. Record the affected position rather than a single trailer-wide pass.
- Verify ABS indication. Power the trailer and observe the warning lamp's expected self-check behavior for that system. A lamp that never illuminates needs investigation just as a persistent warning does.
Stop functional testing if pressure falls rapidly or a brake won't release. Locate and repair the fault before proceeding to adjustment measurements.
The cited U.S. criteria treat reinforcement-ply hose damage, pressure-induced bulging, an audible leak away from a proper connection, and heat-damaged or crimped hoses restricting airflow as out-of-service conditions. That procedure is an older inspection document; qualified personnel should verify release decisions against current applicable criteria.
Measuring Pushrod Stroke at Every Wheel End
Pushrod stroke readjustment limits by chamber type
| Chamber type | Outside diameter | Readjustment limit |
|---|---|---|
| Type 6 | 4.5 in | 1.25 in |
| Type 9 | 5.25 in | 1.375 in |
| Type 12 | 5.6875 in | 1.375 in standard stroke; 1.75 in long stroke |
| Actuator types not listed | Not applicable | 80% of rated stroke or marked readjustment limit |
These values come from the Appendix G brake-adjustment table, which lists type 6, type 9 and type 12 chamber limits as shown and sets an 80% manufacturer-rated-stroke or marked-readjustment-limit rule for unlisted actuator types. These examples aren't a complete chamber catalog.
Don't select a limit because the chamber looks familiar. Read its markings, identify standard versus long stroke, and confirm its type against the applicable reference; outside diameter alone isn't sufficient identification.
Measure travel, not exposed rod length
With the service brakes released and parking brakes released as required by the safe test setup, establish a repeatable reference at the chamber face. Mark the pushrod or measure from that fixed reference to an identifiable point on the rod.
Have the operator make the prescribed full service application at the correct test pressure. Measure the change between the released and applied positions, keeping the ruler aligned with pushrod movement rather than at an angle.
Record:
- Identification: Chamber type, stroke designation and applicable limit.
- Measurement: Released reference, applied reference and calculated travel.
- Condition: Binding, bracket movement, abnormal linkage angle or incomplete return.
- Access: Any wheel position that couldn't be measured and the reason.
A neighboring brake's reading doesn't stand in for an inaccessible wheel end. Arrange access rather than converting an incomplete inspection into a general pass.
Diagnose the automatic adjuster
An automatic slack adjuster isn't a pass/fail indicator. Excessive stroke can involve the adjuster, its installation, worn camshaft bushings, foundation-brake wear or damaged linkage.
Adjustment rule: Don't repeatedly wind an automatic slack adjuster back into range and call the underlying fault repaired.
When stroke exceeds the applicable limit, inspect the mechanism and correct the cause. Make any adjustment only under the component manufacturer's service procedure, then repeat the application and measurement.
Even an acceptable reading doesn't clear a brake with loose camshaft support or restricted movement. Check the mechanical condition while observing travel, and use the same reference points at later inspections so technicians can compare results meaningfully.
Checking Linings, Drums and Discs
A brake can have acceptable actuator travel and poor friction. Inspect the working surfaces before deciding the wheel end is ready for service.
Inspect friction parts by wheel position
- Measure the thinnest material. Use the inspection opening or remove the drum under the approved service procedure. Record lining or pad thickness at the thinnest accessible point and compare it with the applicable manufacturer and inspection minimums.
- Find contamination and its source. Check for oil, grease and, where hydraulic brakes are fitted, brake fluid. A leaking seal must be repaired before replacement friction material goes into service.
- Inspect the attachments. Look for glazing, cracks, tapered wear and loose or missing rivets or shoe hardware. Don't judge remaining life from the thickest visible edge.
- Measure the drum or disc. Check drums for cracks, scoring, heat checking and out-of-round wear using a drum gauge. Use suitable measuring tools to check disc thickness and variation at the manufacturer's specified locations.
- Compare axle partners. Unequal wear between opposing wheel ends can indicate dragging, poor application or mechanical binding. Check the mechanism rather than replacing friction material alone.
- Replace rejected components. Replace material at or below its minimum and drums or discs outside their service limits. Reassemble, establish correct clearance or adjustment, and repeat the functional checks.
For hydraulic installations, inspect lines, wheel cylinders and calipers for leakage at the same recorded positions. Fluid on a backing plate warrants tracing the source, not just wiping the surface.
Don't try to rescue oil-soaked friction material with a quick solvent wash. Correct the leak and follow the friction manufacturer's replacement requirements.
Control brake dust with approved equipment and wet-cleaning methods. Don't blow assemblies clean with compressed air.
These checks establish component condition. They don't demonstrate balanced braking under load, so unresolved driver complaints still require diagnosis even when wear measurements pass.
Symptoms That Point to Hidden Brake Faults
Intact drums, chambers and hoses can hide restricted air lines, poor gladhand sealing, failed automatic adjustment or an ABS electrical fault. Ask the driver when the symptom starts: during hard braking, while building air, after repeated stops or on a long downhill.
The Trucker's Roadcheck reporting highlights the accessibility gap between visible connections and harder-to-reach brake components underneath the vehicle. Don't let convenient access determine the diagnosis.
Trailer brake symptoms, causes and confirming tests
| Symptom | Likely cause | Test to confirm | First fix |
|---|---|---|---|
| Trailer pulls to one side under braking | Brake out of adjustment or dragging on one side | Compare wheel-end temperatures after a controlled stop; confirm stroke and release | Correct the cause, adjust as appropriate, then re-measure |
| Air pressure falls during a hold or builds slowly | Leak at a hose, gladhand, chamber or fitting | Apply service brakes and spray fittings with soapy water | Replace the damaged hose, fitting or gladhand seal |
| Delayed or uneven application | Failed automatic adjuster, sticking camshaft or worn bushing | Measure stroke and check application and release | Repair the failed adjuster, camshaft or bushing, then set adjustment |
| One wheel end runs hot after braking | Contaminated or dragging lining, or misadjusted brake | Infrared comparison plus lining and release checks | Replace contaminated material, clean serviceable surfaces and correct dragging |
| ABS warning lamp stays on | Sensor or wiring fault in the trailer ABS circuit | Power-up check, fault-code diagnosis, sensor and wiring inspection | Repair confirmed wiring damage or replace the failed sensor |
| Poor stopping with brakes that look fine | Glazed or contaminated linings, or marginal air performance | Friction-surface inspection plus application test | Reline or replace affected components and repair air faults |
Compare under repeatable conditions
Only conduct a controlled braking check after stationary defects have been corrected and the vehicle is safe to move. Compare equivalent surfaces promptly afterward; an infrared thermometer can't distinguish brake heat from bearing trouble by itself.
Keep the previous inspection sheet beside the current readings. A recurring hot wheel end or worsening stroke on the same axle deserves root-cause diagnosis, not another isolated adjustment entry.
Repair Now or Log and Monitor Before Dispatch
Any finding that meets an out-of-service criterion stops dispatch until repair and re-inspection. Independently of enforcement classification, don't release a trailer with a brake that won't apply or release, a serious air leak or an unresolved stopping complaint.
The 2025 CVSA International Roadcheck results identified 3,304 brake-system out-of-service violations, representing 24.4% of vehicle out-of-service violations, plus 2,257 violations involving 20% or more defective brakes; together, those categories accounted for 41.1%. Federal periodic inspection requirements also cover every segment of a combination at least once every 12 months, without replacing daily pre-trip checks.
Use a written release decision, not a verbal assurance.
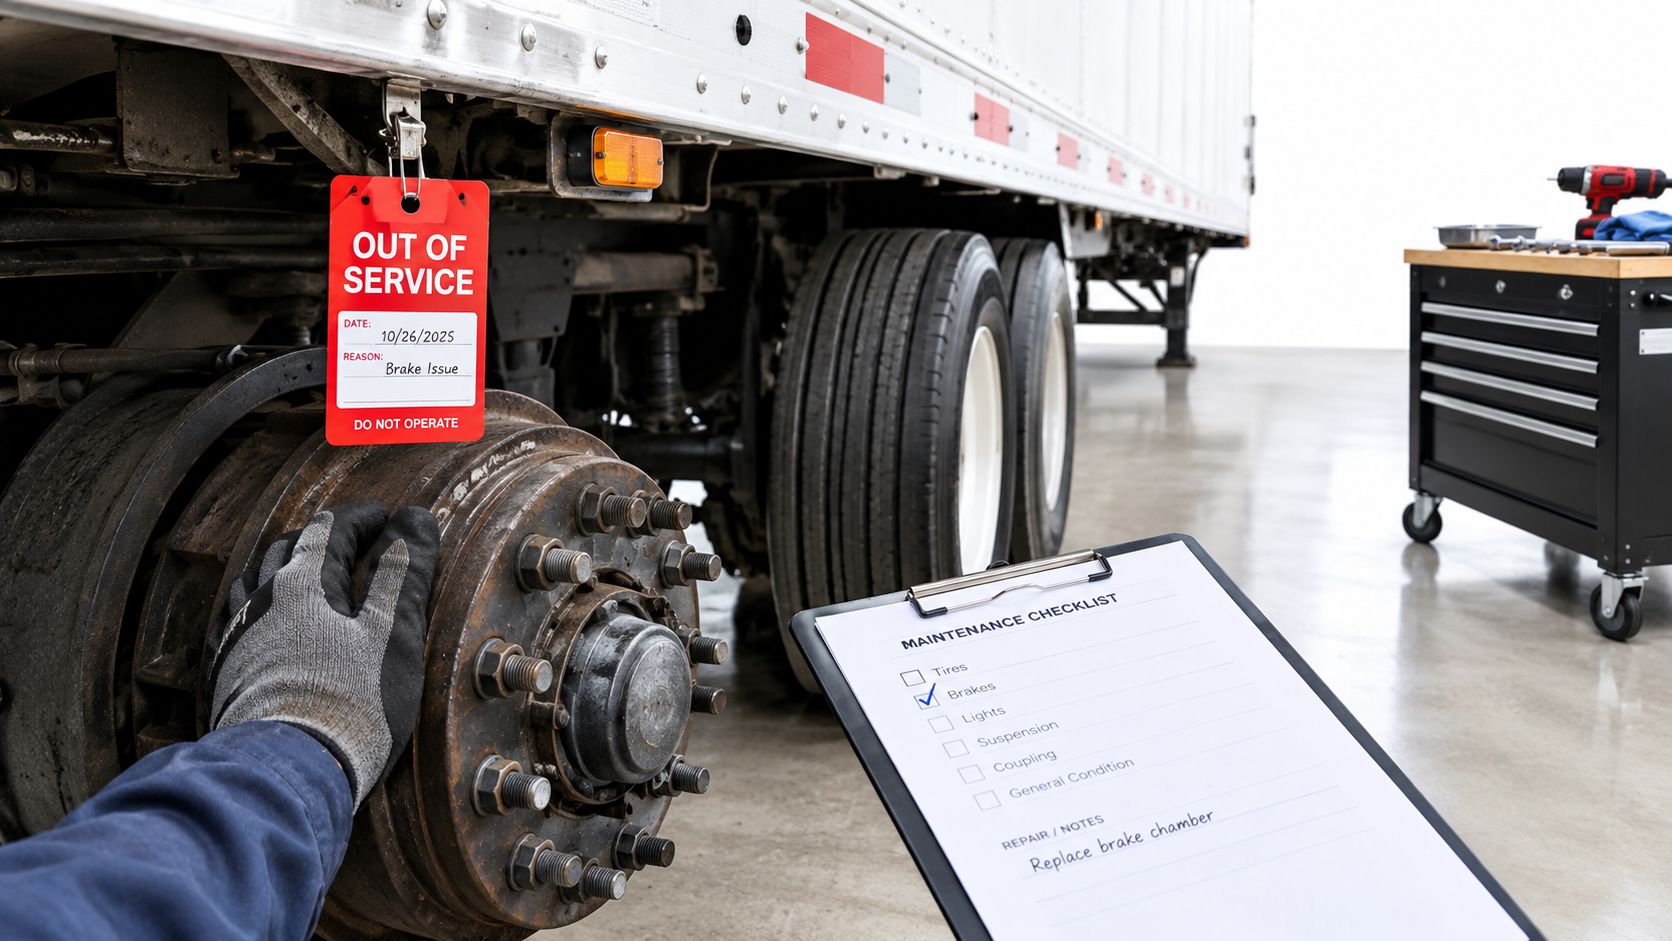
Separate repairable adjustment from failed operation
An out-of-adjustment brake may be correctable during the service visit after the cause is established. An inoperative brake needs repair that restores application and release; moving the adjuster doesn't restore a seized mechanism or failed actuator.
For a marginal but serviceable wheel end, correct what can be corrected now and schedule an earlier recheck. Repeated findings on an axle call for a broader foundation-brake assessment and overhaul where warranted, rather than repeated adjustment.
Only defer conditions that remain within applicable limits and don't compromise function. Log the axle, wheel position, reading, reason for monitoring, responsible person and recheck date.
The next practical step is to turn the completed sheet into a repair order with a clear release hold on unresolved safety defects. Include related suspension or structural findings so the shop can coordinate brake work with trailer repair rather than returning the unit with an incomplete diagnosis.
Our truck maintenance includes routine oil changes and fluid checks, brake and suspension inspections, and engine diagnostics and repairs, and we sell truck and trailer parts from inventory. We also provide Walking Floor diagnosis and repair, aluminum welding and custom fabrication for related trailer needs. Visit Brothers Truck Trailer Repair and Welding Corp. with your wheel-end readings and defect list to confirm the repair scope and parts needed for your unit.
Single axle car trailers explained: real payload figures, tandem axle comparison, load placement and a pre-trip inspection checklist for owners and fleets.
A practical walking floor trailer guide for fleets covering how the system works, failure modes, maintenance intervals, diagnostics, and repair options.
Learn how trailer wheel chock locks work, which types suit fleet use, how to match tire size, and where OSHA and FMCSA rules apply.