Commercial Trailer Suspension Inspection Guide for Fleets
A trailer comes in leaning slightly to the curb side, the driver says it tracked fine loaded, and the tires look normal at a glance. You air it up, the lean mostly disappears, and the temptation is to release it for the next load. That's exactly where a geometry problem hides. A good commercial trailer suspension inspection doesn't stop at pass or fail today. It measures left and right ride height, compares loaded and unloaded readings, and trends the numbers so a shifting hanger, tired spring, or slow air leak gets caught before it becomes a roadside out-of-service defect or another set of ruined tires.
Table of Contents
- Secure the Trailer and Prepare Before You Inspect
- What to Check on Each Suspension Component
- The Walk-Around to Road-Test Sequence
- Symptoms That Point to Suspension Problems
- Pass, Fail and Out-of-Service Decisions
- Recording Results and Setting Inspection Intervals
- Decide Whether to Repair In-House or Refer the Trailer
Secure the Trailer and Prepare Before You Inspect
Say a technician crawls under a loaded trailer parked on a slight slope to check an air spring. The trailer rolls a few inches, weight shifts between the tandems, and he's trapped against a suspension component with nowhere to go. A repeatable setup prevents that scenario and makes every measurement that follows trustworthy.
Park on level ground, set wheel chocks, keep the tractor engine off and the transmission in neutral, and release the brakes only when you're positioned safely. The CVSA roadside inspection operational policies specifically warn about hazards between tandem axles and around air-spring components, and they place suspension inside a broader 37-step mechanical-fitness examination rather than treating it as a quick visual glance. Level ground matters for measurement too, since a slope can fake a ride-height difference or mask a real one.
Read the Paperwork Before You Touch Hardware
Pull the driver vehicle inspection report and the periodic inspection records first. If a driver already reported a clunk, a lean, or an air hiss, you know which axle and side to check hardest, and you can confirm whether a prior defect was properly corrected. Skipping this step wastes bay time and lets known faults leave the yard a second time.
Lay Out Your Tools
- Flashlight and inspection mirror, for cracks at welds and the inner faces of hangers you can't see straight on.
- Tape measure or ride-height gauge, for readings at fixed reference points on both sides.
- Torque wrench, suited to U-bolt and hanger fasteners, so tightness is verified rather than guessed.
- Soapy-water spray bottle, for air fittings, lines, and bag connections under pressure.
- Pry bar and rubber mallet, for checking bushing play and whether a hanger moves when it shouldn't.
- Tread depth gauge, so tire wear gets recorded as a number, not an opinion.
- Clipboard or tablet, because a finding you don't write down didn't happen.
With the trailer secured, records in hand, and tools staged, you're ready to inspect both sides of every axle and document each damaged or missing part by location and severity.
What to Check on Each Suspension Component
Keep this table beside the trailer and work it row by row. The FMCSA suspension inspection guidance calls for checking misaligned, shifted, cracked, or missing springs, loosened shackles, missing bolts, unsecured spring hangers, and cracked or loose U-bolts, plus axle-positioning parts for insecure attachment and signs of axle misalignment.
| Component | What to Check | Fail Sign |
|---|---|---|
| Air springs (air bags) | Bulge shape, cracks, rubbing, air loss | Visible cracks, leaks, or bag touching frame or tire |
| Leaf springs | Cracks, shifted leaves, clip condition | Cracked, broken or shifted leaves |
| Spring hangers and shackles | Cracks at welds, bolts, looseness | Cracked hanger, loose shackle, or missing bolt |
| U-bolts | Thread damage, nut tightness, seat position | Cracked or loose U-bolt |
| Shock absorbers | Fluid leaks, mounts, bushings | Leaking fluid or loose or damaged mount |
| Torque and radius arms | Bushing play, bends, attachment | Cracked arm, worn bushing, or shifted axle |
| Equalizers and axle-positioning parts | Alignment, attachment security | Visible axle misalignment or insecure attachment |
| Axle and attaching parts | Cracks, welds, bending | Crack, weld failure, or bent axle |
Welds and Brackets Are Suspension Parts
Fabricated brackets and welded areas count as suspension checks, not cosmetic ones. Run your light along every hanger weld and look for hairline cracks radiating from the toe of the weld, rust bleeding from a seam, or fresh paint over an old fracture. A cracked hanger doesn't just weaken one mount. It lets the axle shift under load, which changes alignment, scrubs tires, and overloads the opposite side.
Practical rule: If a fastener is loose, ask why before you tighten it. A nut that backed off once usually points to worn threads, a crushed seat, or movement somewhere in the joint.
U-bolts deserve the same skepticism. Check that each one sits squarely in its seat, that threads aren't stretched or corroded thin, and that nut heights match across the pair. One nut standing proud of its mate tells you the clamp load isn't even, and even clamp load is what keeps the axle located.
Air Springs and Shocks Tell You About Load
An air bag should inflate to an even bulge with clear daylight between the rubber and the frame, tire, and pedestal. Rub marks, a bag that folds instead of rolling, or cracking around the base means it's been running at the wrong height or chafing on something. On shocks, wet fluid down the body or a torn mount bushing means the axle isn't being controlled, which accelerates tire cupping and bag wear.
Work every row on both sides of each axle, record the location precisely, and mark each finding as seen, worn, or failed. That three-way sorting feeds directly into your disposition decisions and your trend records later.
The Walk-Around to Road-Test Sequence
Running the checks in a fixed order keeps you from inspecting whatever's easiest to reach and calling it done. The sequence below moves from the cheapest observations to the ones that need the trailer secured, pressurized, or loaded.
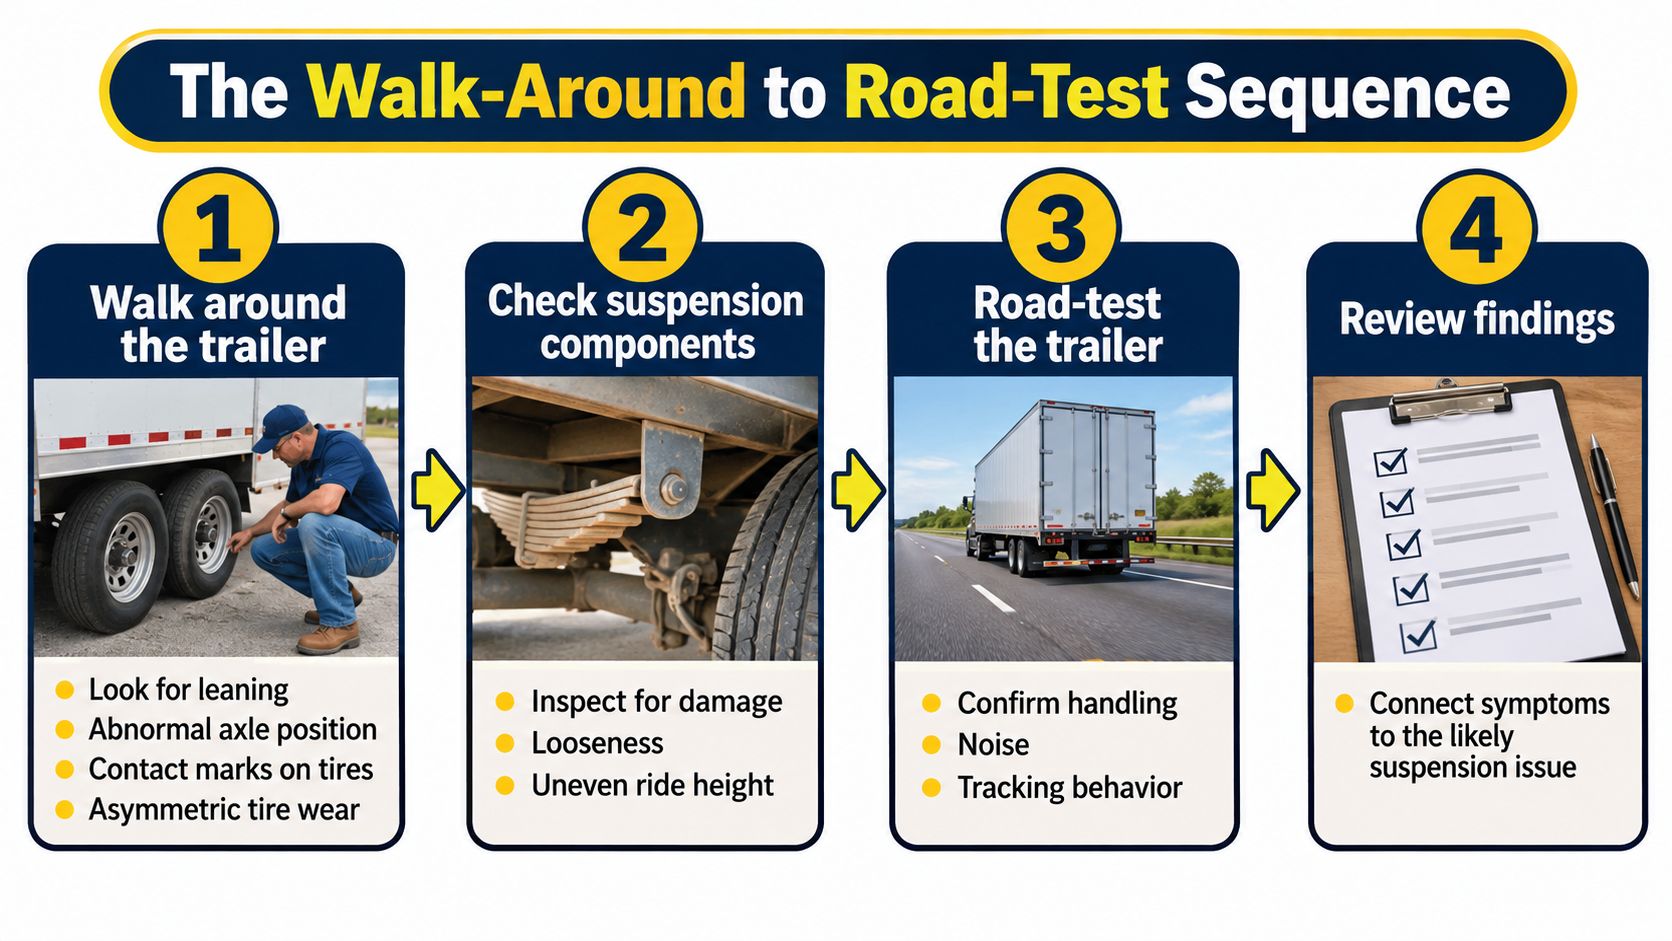
- Walk around first. Stand back and look for leaning, an axle sitting forward or back in the group, contact marks on tire sidewalls, and asymmetric tread wear. The usual slip is starting underneath, where you can't see the lean that frames everything else.
- Go under the secured trailer. Inspect springs, hangers, U-bolts, arms, and equalizers on both sides of each axle. Inspecting only the curb side is the most common miss, and roadside inspectors won't limit themselves that way.
- Leak-check the air system. With the system pressurized, spray soapy water on fittings, bag connections, height-control valves, and line junctions. Bubbles don't lie, and a fitting that's silent can still be losing air steadily.
- Measure ride height. Take readings at fixed reference points on each side, unloaded, and compare left against right. A single-side reading tells you almost nothing. The difference between sides is the data.
- Evaluate under load where safe. Controlled movement or a loaded check reveals leaks and shifts that vanish when the trailer sits empty. Skipping this is why some trailers pass in the shop and fail on the road.
- Correlate with connected systems. Check brakes, wheel ends, frame, and coupling alongside the suspension, because a dragging brake or cracked frame rail can produce the same tire wear you're blaming on alignment.
- Road-test and verify. After any repair, drive the trailer, listen for clunks, confirm tracking, then recheck torque and alignment before you close the work order.
The CVSA 2025 International Roadcheck announcement material frames the stakes for fleets, including heightened federal safety monitoring when a defined out-of-service rate reaches 50% or more based on at least three inspections within 90 consecutive days. That threshold is why converting observations into recorded data matters. Log trailer identification, axle position, suspension type, ride-height readings, air loss, fastener condition, and the disposition for every finding.
One firm rule on fasteners. Torque values for U-bolts, hangers, and shackles come from the trailer or component manufacturer's specification, never from memory. Record the value you applied and the fastener position, so the next technician can verify your work instead of redoing it.
Symptoms That Point to Suspension Problems
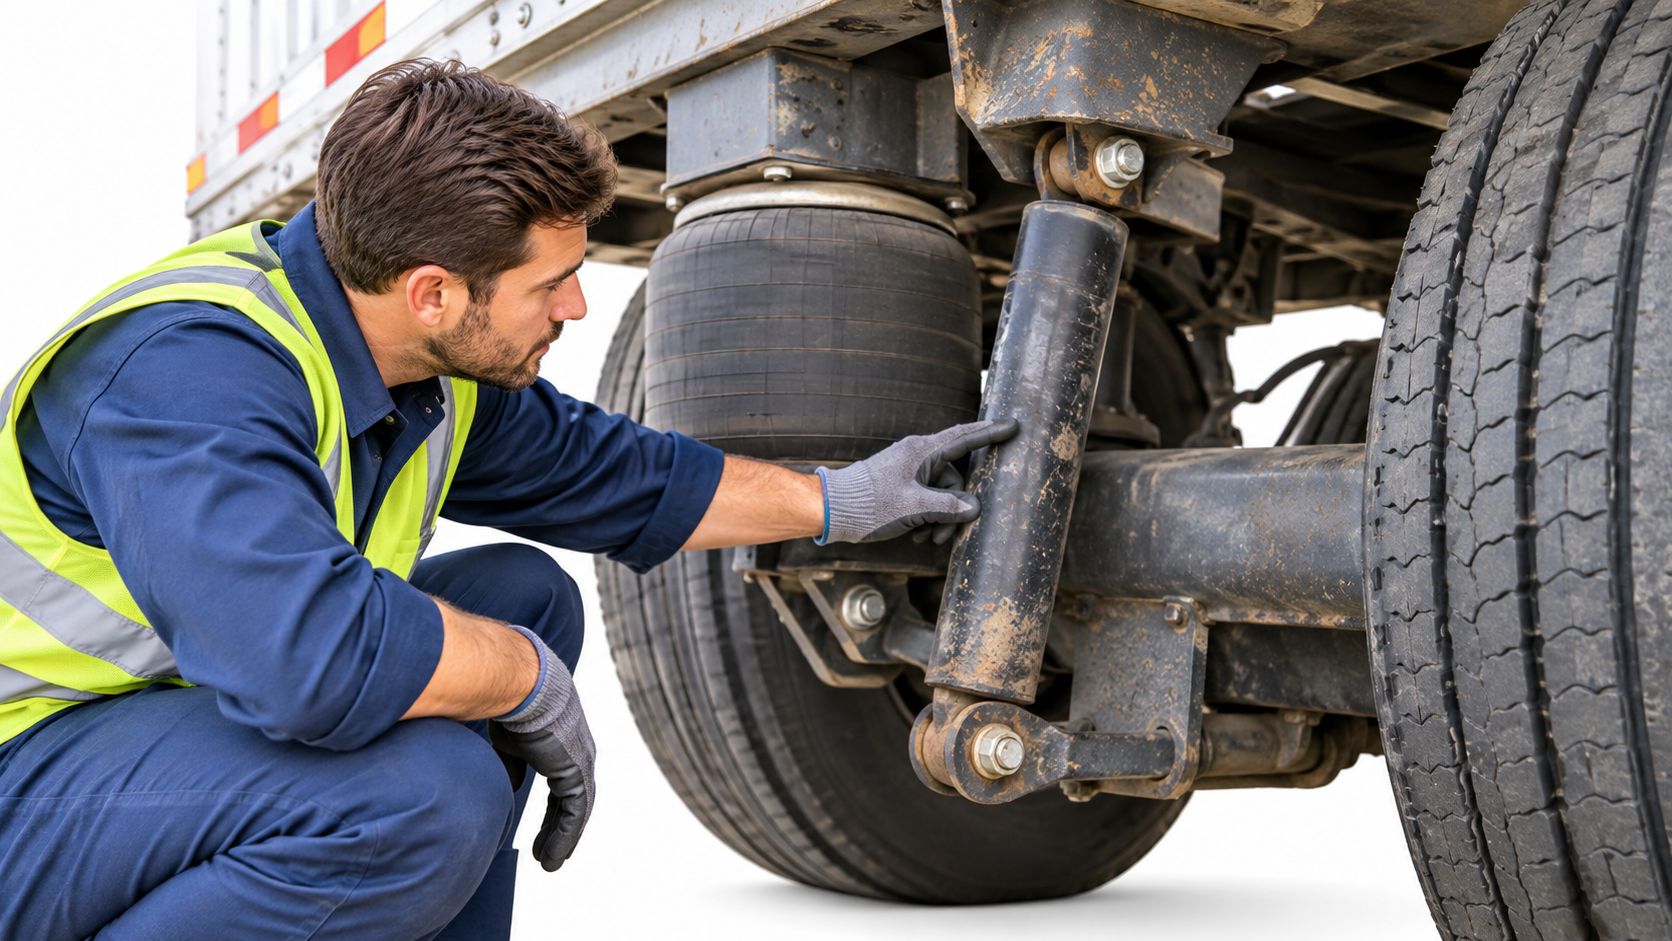
The most expensive mistake in suspension work is replacing a visibly worn shock or air spring without finding the misalignment, loose fastener, overloaded axle, or ride-height error that destroyed it. The new part inherits the same abuse and fails on the same schedule. Diagnose first, order parts second.
The photo below shows the hands-on check that should precede any parts order.
| Symptom | Likely Cause | Check Before Replacing Parts |
|---|---|---|
| Uneven tire wear on one axle | Axle misalignment or loose attachment | Measure axle alignment and check hanger and U-bolt torque |
| Low ride height on one side | Broken or fatigued spring or an air leak | Compare left and right ride height, loaded and unloaded |
| Tire wear only when loaded | Load-dependent geometry shift | Repeat measurements under load and trend by payload |
| Trailer tracks off line | Shifted hanger, bent arm, or misaligned axle | Inspect alignment and weld areas before blaming the tire |
| Air hiss or slow pressure drop | Leaking fitting, cracked bag, or damaged line | Soap-test fittings and inspect the bag under pressure |
| Clunk or knock over bumps | Worn bushing or loose U-bolt or shackle | Check fasteners by hand and inspect bushings for play |
| Brake-like complaint with no brake fault | Suspension or axle movement mimicking a brake issue | Inspect suspension before adjusting brakes |
Load-Dependent Faults Hide in an Empty Shop
Tire wear that appears only when loaded is the clearest example. An empty trailer sits square, measures square, and passes. Under payload, a worn bushing or cracked hanger lets the axle steer slightly, and the tires scrub for thousands of miles. Heavy walking-floor, waste, aggregate, and construction work makes this worse because cyclic loading and uneven payload distribution stress one side harder than the other.
If a symptom only shows up loaded, an unloaded inspection can't clear it. Measure it the way it fails.
Some findings close in one visit, like a loose U-bolt you torque to specification and verify on the road test. A geometry problem is different. It needs repeat measurements over several trips, trended by trailer, route, and payload, before you can say whether the trailer is stable or still moving.
The video below walks through suspension component checks you can compare against your own sequence.
Your next move is simple. Match the complaint to a row, run that check first, and only then decide what to order.
Pass, Fail and Out-of-Service Decisions
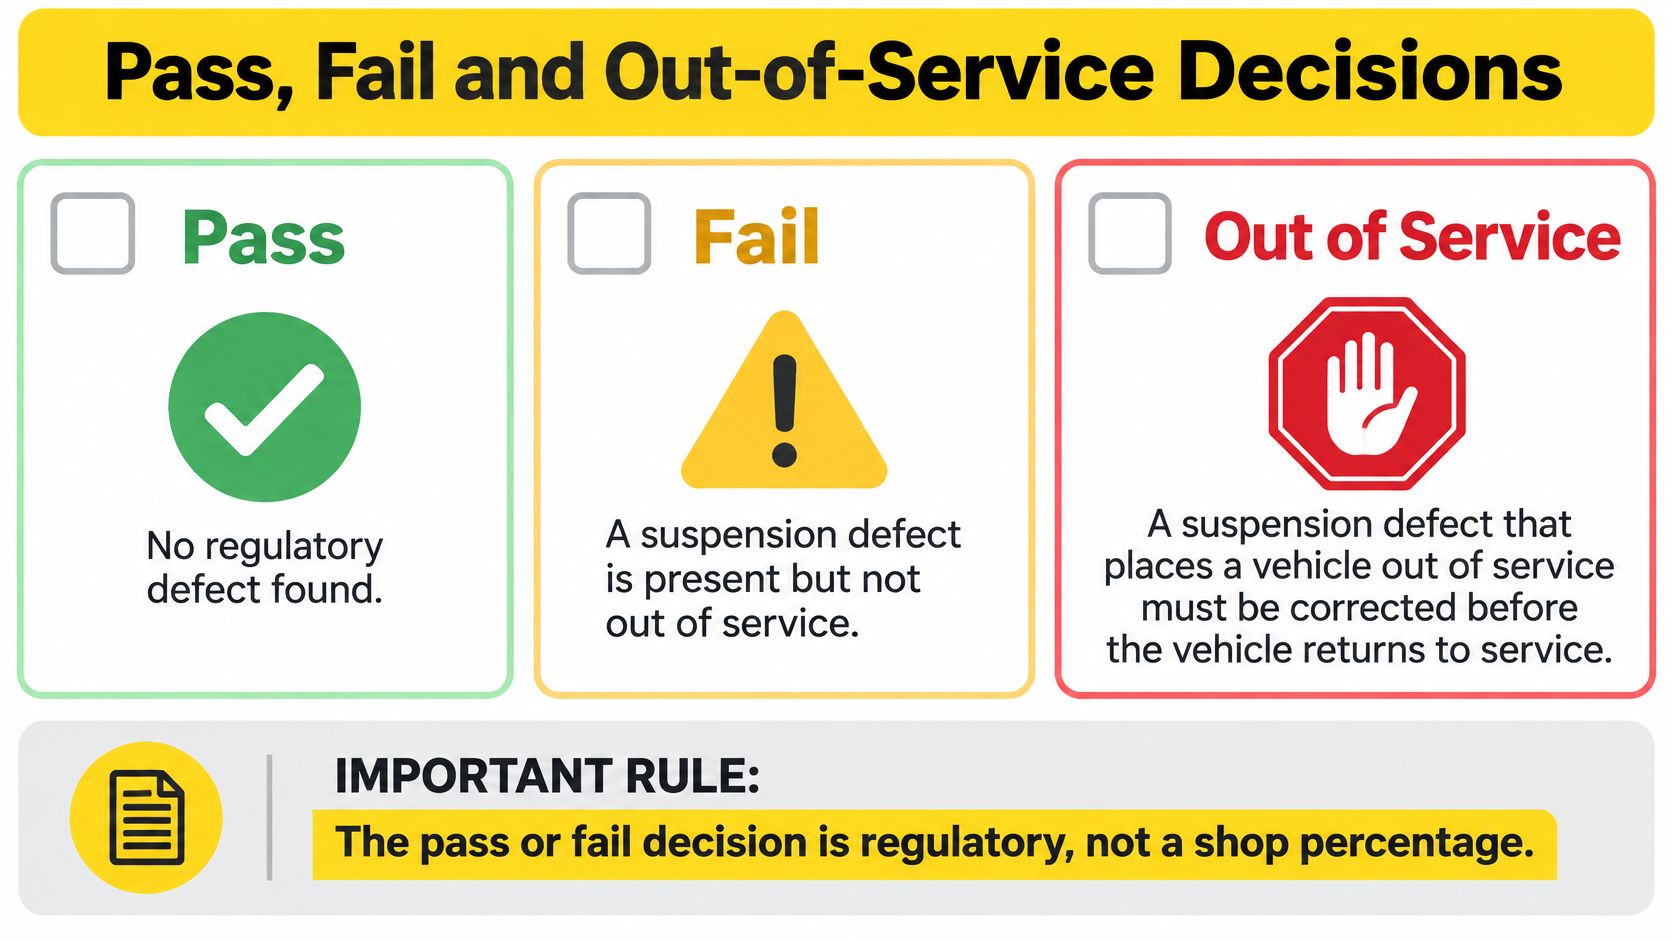
The pass or fail line is regulatory, not a shop percentage. Your job before the trailer leaves the bay is to sort every finding into a disposition, and the table below is the decision tool for that conversation with dispatch.
| Finding | Disposition | Timing |
|---|---|---|
| Cracked, broken or missing spring, hanger or U-bolt | Out of service | Correct before the trailer operates again |
| Air leak that prevents normal ride height | Repair before dispatch | Before the next trip |
| Worn shock or bushing with no structural damage | Monitor and schedule repair | Within the next planned maintenance window |
| Loose fastener corrected on the spot | Safe to operate | Record torque and recheck on the road test |
| Repair completed on a suspension part | Verify and return to service | Alignment check and road test documented before release |
| Roadside out-of-service citation | Correct and certify | Carrier certification within 15 days, report kept 12 months |
The enforcement side explains why these dispositions can't be casual. Under the FMCSA Safety Planner guidance on roadside inspection reports, a driver must deliver the roadside report to the carrier within 24 hours, the carrier must certify corrections and return it within 15 days, and a copy stays on file for 12 months. A defect you wave through today can stop a trip tomorrow and start that clock.
Apply the Same Corrective Checklist to Every Repair
- Replace damaged hardware, don't straighten or reuse stretched U-bolts and cracked brackets.
- Repair structural mounts before reuse, so the new component bolts to something sound.
- Retorque to the manufacturer's specification, and write the value on the work order.
- Verify alignment after the repair, because replacing a hanger or arm can move the axle.
- Attach the evidence, including ride-height readings and road-test results, to the work order.
A monitored item isn't a forgotten item. If you schedule a worn bushing for the next maintenance window, record the current play so the next check shows whether it's stable or deteriorating. That's the difference between monitoring and hoping.
Recording Results and Setting Inspection Intervals
The annual inspection is a legal floor, not a maintenance strategy. Under the FMCSA sample vehicle inspection report, each commercial vehicle, including every segment of a combination vehicle, must receive a periodic inspection at least once every 12 months under 49 CFR 396.17, and the carrier retains the report for 14 months from its date. That sample report lists suspension items including visible leaks, cracked, broken, or shifted springs, U-bolts, hangers, hoses or tubing, and torque, radius, and tracking arms.
| Field | What to Record |
|---|---|
| Trailer identification | Unit number and VIN |
| Axle position | Position of each axle in the suspension group |
| Suspension type | Air, leaf or other type for each axle |
| Ride height | Unloaded and loaded readings, left and right, at fixed reference points |
| Visible air loss | Leak location and soap-test result |
| Fastener condition | U-bolt, hanger and shackle condition and torque |
| Bushing or hanger damage | Location, severity and wear |
| Tire-wear pattern | Pattern and axle side |
| Disposition | Safe to operate, monitor, repair before dispatch, or out of service |
Set Intervals by Duty Cycle
Heavy payloads, waste hauling, frequent loading cycles, rough sites, and corrosive environments wear suspension faster than highway van work. Set preventive check intervals by what the trailer does, with the annual inspection as the documented compliance checkpoint rather than the only look the suspension gets all year.
Scheduling principle: The harder the duty cycle, the earlier the next inspection date should sit relative to the legal deadline.
Trend Four Numbers
Once records accumulate, track suspension defects per 100 inspections, repeat defects per 10,000 miles, repair turnaround time, and roadside out-of-service events. A rising repeat-defect rate on one trailer is your signal that geometry or loading, not a single worn part, is driving the failures. That trailer needs diagnosis, not another round of the same component.
Complete the template for every preventive check, not just the annual, and assign each trailer a next inspection date that reflects its duty cycle. The trend only works if the readings are consistent, so use the same reference points every time.
Decide Whether to Repair In-House or Refer the Trailer
Keep the work in-house when the finding is a loose fastener, a worn bushing, or a simple air fitting your team can verify with a torque check, a soap test, and a road test. Those repairs have clear pass criteria you can confirm in your own bay, and the trailer goes back to work without losing a day to scheduling.
Refer the trailer when the finding involves a crack, a weld, a bent axle, or a structural bracket, or when the same defect returns after a repair. Repeat defects point to geometry or load problems that need deeper diagnosis than a component swap. Welding a cracked hanger without correcting the misalignment that cracked it just resets the failure clock.
What Referred Work Covers
Brothers Truck Trailer Repair and Welding Corp. handles referred work across several areas that connect directly to suspension findings. Our truck maintenance includes brake and suspension system inspections alongside routine service and diagnostics. We offer aluminum welding for trailers and trucks, including repair of aluminum trailer bodies and components where structural repair is needed, and custom fabrication when a bracket or mount has a fitment problem an off-the-shelf part won't solve. We also sell parts and supplies for trucks and trailers from our inventory, which supports common needs like hangers, U-bolts, and bushings.
Confirm current parts availability and lead time with us when you send a trailer in rather than assuming a part is on hand. That one call prevents a trailer from sitting in a bay waiting on a component nobody ordered.
Send the Record With the Trailer
- Completed inspection record with the disposition for each finding.
- Left and right ride-height readings, loaded and unloaded where you took them.
- Photographs of the defect if available, especially cracks at welds.
- The symptom and checks already run, so diagnosis starts where yours stopped.
That record lets the workshop confirm the repair route before the trailer is scheduled, and it keeps your compliance trail intact from shop inspection through completed repair.
If your inspection turns up a cracked hanger, a bent axle, or a defect that keeps coming back after repair, send the trailer in with its inspection record and ride-height readings so diagnosis starts from evidence, not guesswork. We handle suspension-related repairs, aluminum welding, fabrication, and parts support for commercial trucks and trailers. Visit Brothers Truck Trailer Repair and Welding Corp. to discuss your trailer and get it scheduled.

Hitch ball size must match the coupler: 1-7/8, 2, 2-5/16, or 3 inches. Check shank, stamped capacity, and the weakest rated part before towing.
Learn aluminum welding and fabrication for trucks and trailers, from alloy weldability and strength loss to repair rules and shop selection.
Check trailer hitch ratings, vehicle tow limits, GCWR, GVWR and measured coupling loads; verify labels, axle weights and repairs before release.